Install Zstack OS
ZStack is an open source software that manages resources to provide infrastructure as a service(IaaS) solution. It is written in Java and Python. The steps will help you to install and setup ZStack management node, MySQL and RabbitMQ message broker, all are on single machine and KVM on a different machine(Zstack supports KVM only). Zstack is customized from centos7.2 and it has four installation modes.
- Enterprise Management Node
- Community Management Node
- Computing Node
- Expert Node
This will show you installation of Enterprise Management Node. You can add one node for free in Enterprise management node.
- Download the zstack os iso and convert it to bootable format, http://cdn.zstack.io/community/downloads/iso/ZStack-x86_64-DVD-2.0.2.iso
- The installation is simple as like CentOS installation. Boot the machine1 with the bootable zstack os. Select data and time, and keyboard language in the Installation summary.

- Select the “Enterprise Management Node” in software selection and configure the IP address in the Network & Host-name section(You can configure the IP after completion of zstack os installation, but it’s recommended to setup now),Then begin the installation

- Set the root password for the zstack machine and reboot the machine once the installation is completed. The zstack will automatically install the below software if you already configured the IP address.
- Apache Tomcat 7
- Web UI for zstack
- ZStack command line tool(zstack-cli)
- ZStack control tool(zstack-ctl)
- MySQL server
- RabbitMQ server
- NFS server
- Apache server
- After successful installation of the management node, you can see this screen. It will show the basic details of the management node.

- For basic system configuration press F2 and enter the root password. Here you can configure/change the IP and restart zstack services. Press F2 to log out.

- To switch to command line mode press Ctrl + Alt + F2. To switch back to Ctrl + Alt + F1.
- Now you can access the web UI via http://zstack-ip:5000. The default credentials for web UI is admin/password.

- It’s time to add your node(KVM) to the zstack management node. We recommend you to install centos 7.2 on machine2. You can download the ISO here.ZStack uses Ansible to configure target Linux operating systems. While adding a host to zstack, Ansible automatically installs all the required packages including KVM on the target host. So, just install Centos 7.2 and configure the IP.
Add a host to the Enterprise management node:
Login to Zstack management node via http://zstack-ip:5000 and create a cloud as per Zstack data-center model.
- You can see this page. you need to create a ZONE with any name. Then click next.

- Create Cluster under the zone and click next.

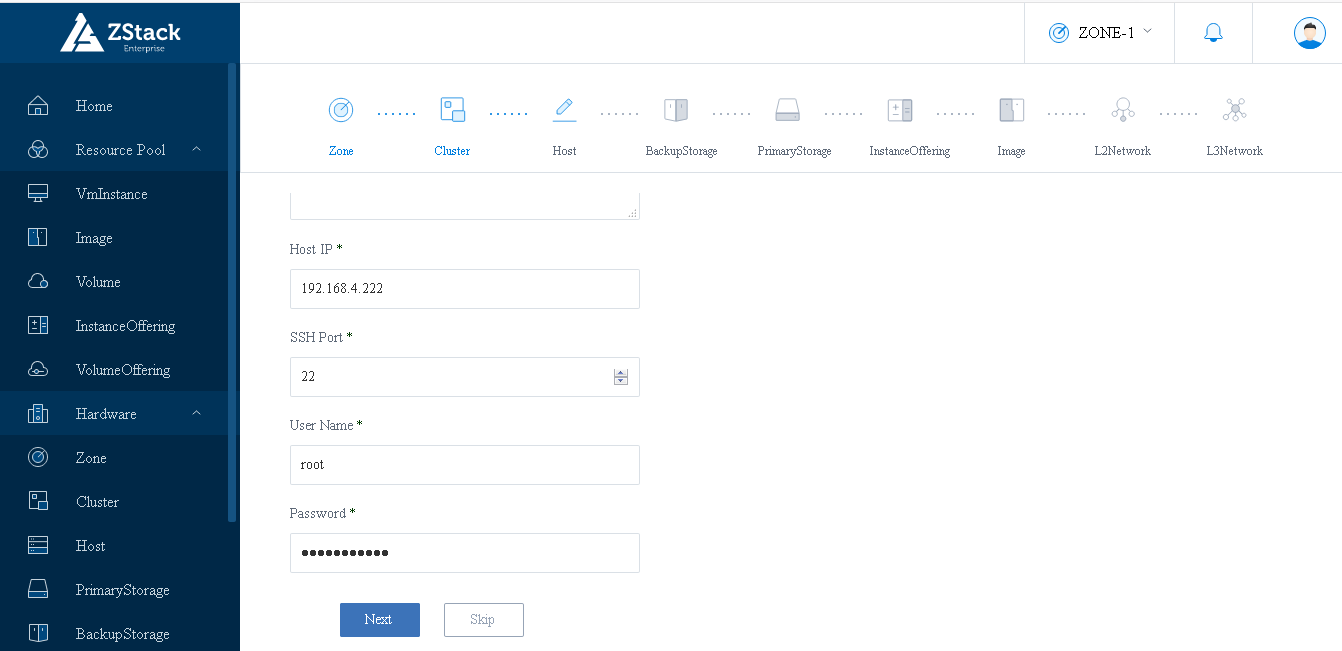
- Add the host to the cluster. Enter the machine2 IP and root login details. It will take some time to add it to the management node since Ansible will install the KVM on the machine2.
- Next, configure Backup storage. If you have any backup server use that, Or else you can use the management node/KVM storage for backup. Then click next.

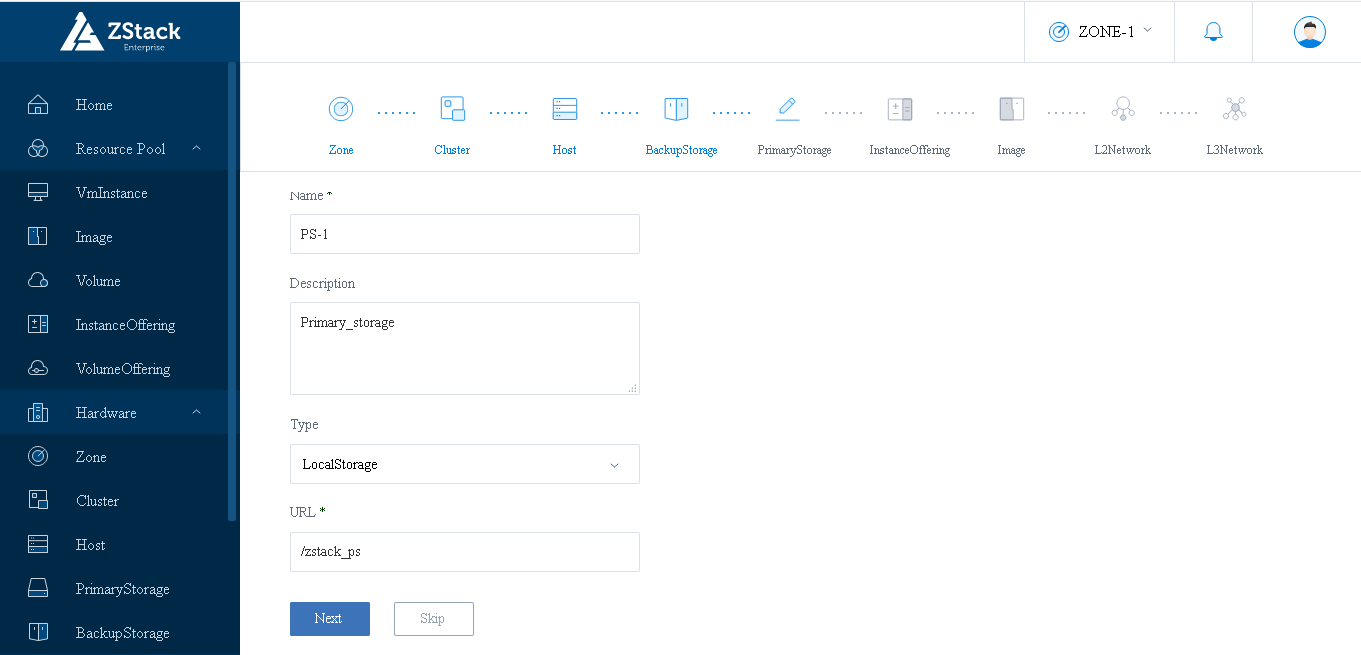
- Configure Primary storage for your future VM’s storage. You can use NFS/shared drive or local(KVM) storage.
- Now create Instance Offering which means CPU and Memory allocation for future VM’s.

- Add an image for the VM’s. You can use the zstack’s default image for testing. “file:///opt/zstack-dvd/zstack-image-1.4.qcow2″ or you can use the centos iso.
 If you use default qcow2 image, you have to select the “Media type as Image”. If you use the ISO url, you have select “Media type as ISO”.
 - Create L2 network. Select type L2NoVLAN and enter the physical interface of KVM.

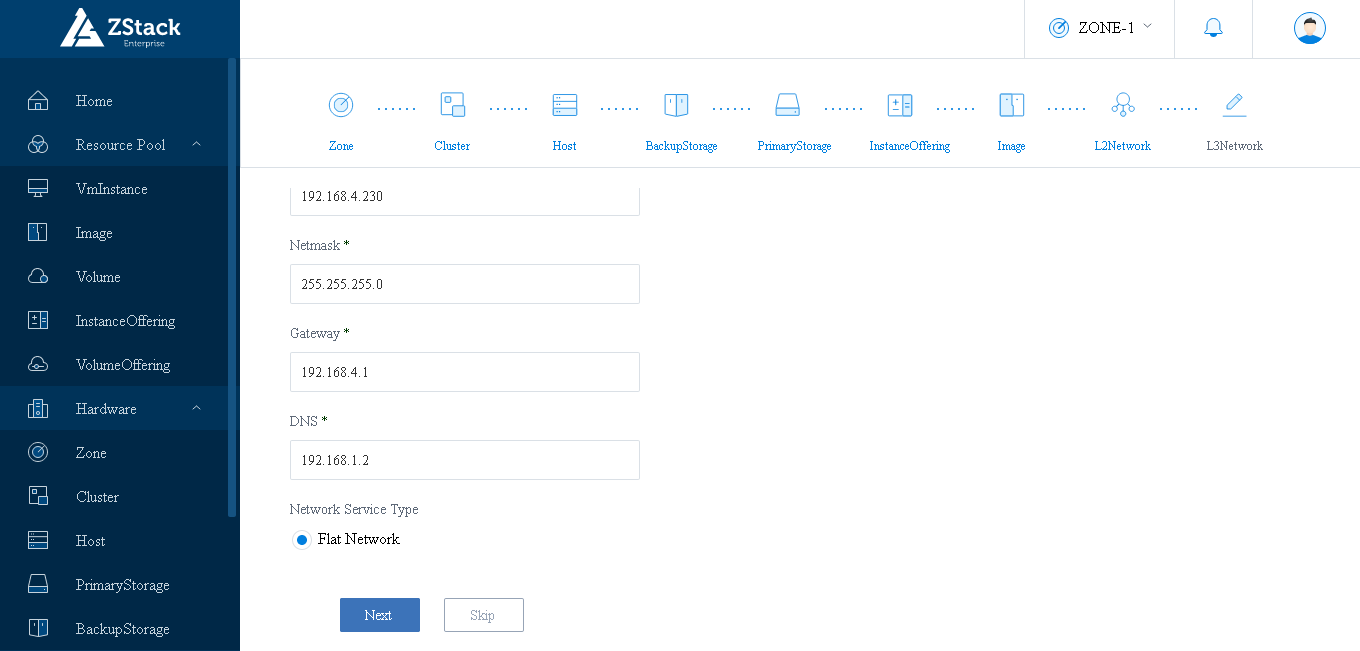
- Create L3 network. Enter the start and end IP ranges, DNS details for the feature VM’s. And select FLAT network.

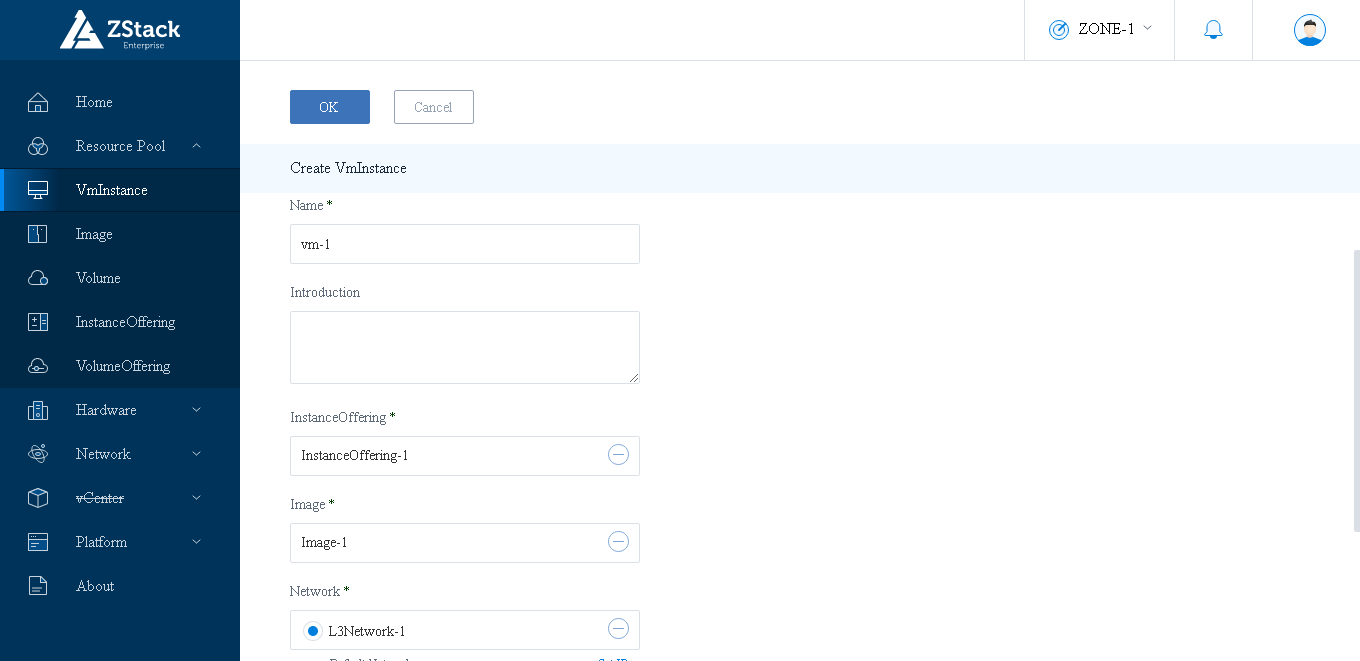
- Then go to Resource Pool and click VmInstance and create your first VM on the cloud.
- Check the VM status in console once the it’s successfully created.

- You can access the RabbitMQ management plugin via http://zstack-ip:15672 The default credential is guest/guest.
Zstack initial setup has been completed.

D KarthiKeyan