Import and Export Docker images for windows container
In this blog, we will show you how to import and export docker images from one server to another using docker commands.
REQUIREMENTS
- We need two windows container host with docker service installed.
In this demonstration, we are using two windows container host as container1 with IP 192.168.232.80 and container2 with IP 192.168.232.81.
EXPORT THE IMAGE
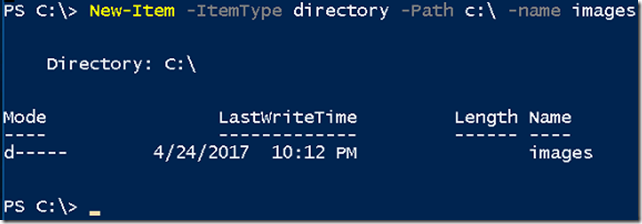
- Login into container1 host and create a new folder named images under c:\ drive using below command
New-Item -ItemType directory -Path c:\ -name images
- Type docker images command to list the available images on the server.
- In the demo, we are exporting the assistanz247/nanoserver-iis:latest image. To export the image use the below command.
SYNTAX: docker save -o c:\images\nanoserver.tar assistanz247/nanoserver-iis
docker save – Sub command to save the docker images.
-o – To specify the out file path
c:\images\nanoserver.tar – The path and the filename to save the image.
nanoserver-iis – Image Name
- Once it’s complete. The nanoserver.tar file will be available on c:\images folder.
IMPORT DOCKER IMAGE
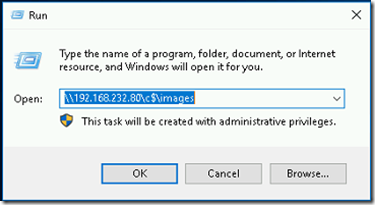
- Login into Container2 server and access the c:\images folder from container 1 through the network share.
- Copy the nanoserver.rar to local folder named c:\temp
- To import the image to docker, use the below command.
docker load –i c:\temp\nanoserver.tar
docker load – This is the sub-command for docker to import the image.
-i – To specify the TAR file path.
c:\temp\nanoserver.tar – The full path for TAR file.
- Type docker images command to verify the image availability.
VERIFICATION
- Launch a new container using the assistanz247/nanoservder-iis:latest image for verification.
- Image launch successfully without any problem.
VIDEO
Thanks for reading this blog. We hope it was useful for you to learn how to import and export the windows container images.

Loges


