
Let’s know the steps for Creation of the Application Load Balancer and AutoScaling group with Target Tracking Policy.
CREATION OF the Application load balancer
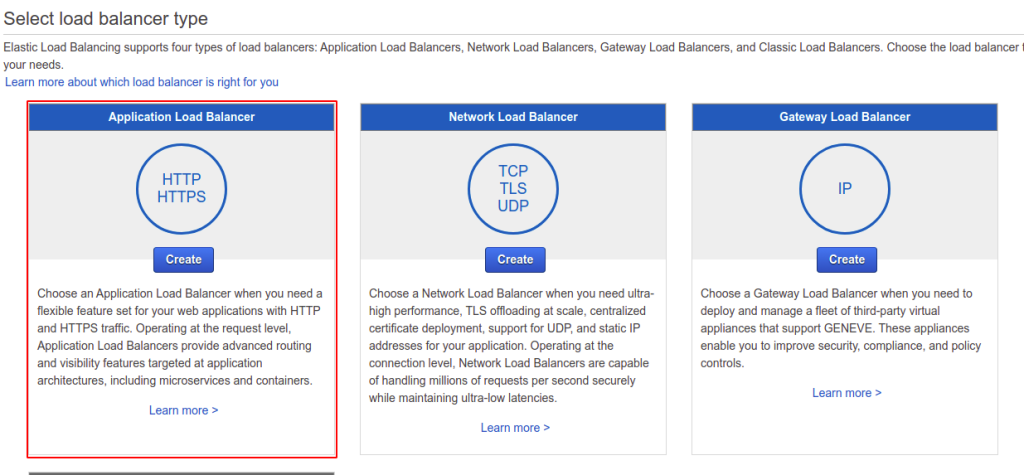
Step 1: Go to AWS EC2 Load Balancers Console and click the create load balancer.
Step 2: Select the application load balancer.
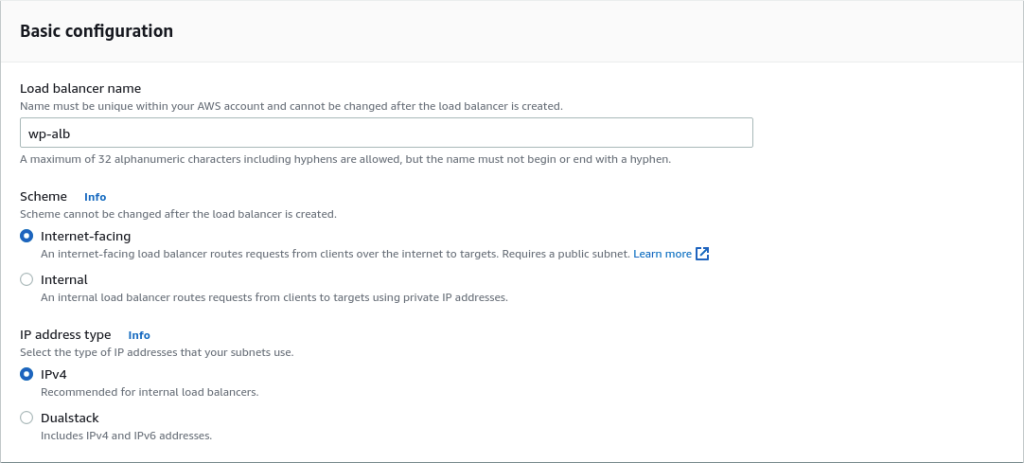
Step 3: Provide a name for the load balancer, Select the scheme and IP address type as per your needs.
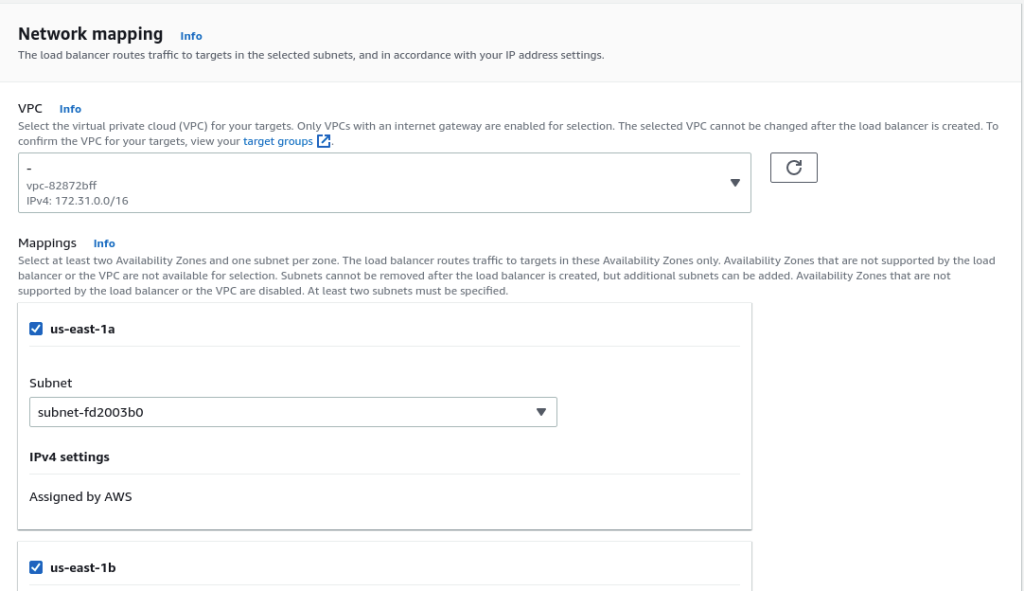
Step 4: Select the default VPC and all the required subnets. You can change the VPC as per your needs.
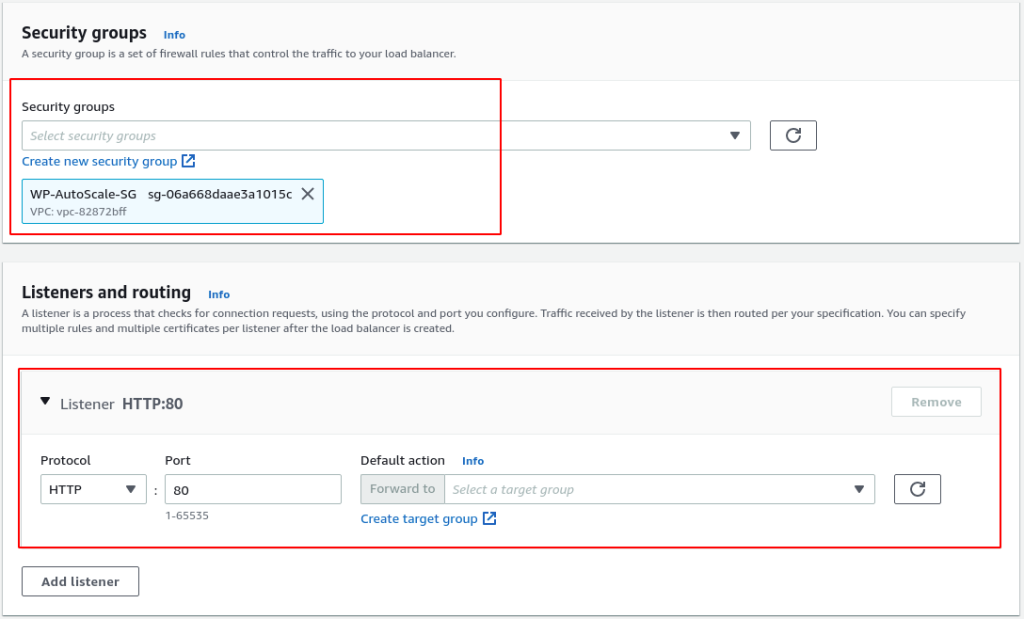
Step 5: Select the Security group and create a target group. In this, we have selected the custom security group.
In the below screenshot, The mentioned port is used by end-users.
For Example, If we want to access our application using the 8080 port in our browser then we have to mention 8080 here.
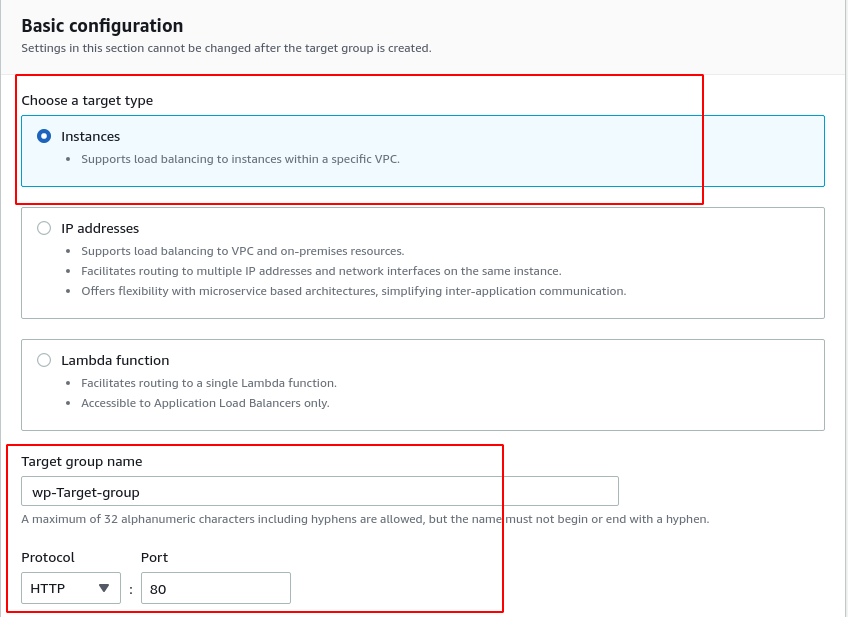
Step 6: In the Target group creation console, select the target type, target group name, protocol, and port.
We are going to use HTTP protocol and 80 port. You can change this as per your needs.
In the below screenshot, The mentioned port is listening to a port in our server.
For Example. If we have installed an application that is using 7008 port, we need to mention that port here.
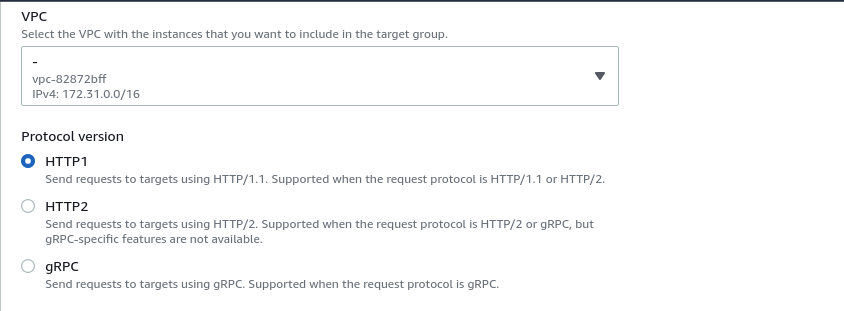
Step 7: We have selected the default VPC and http1 protocol versions. You can change as per your needs.
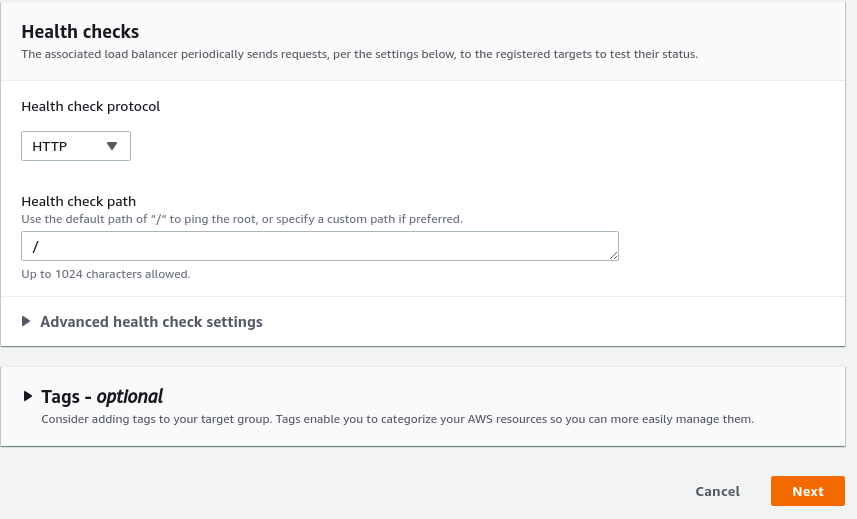
Step 8: Already it has default values and we can change it as per our needs, and click the next option.
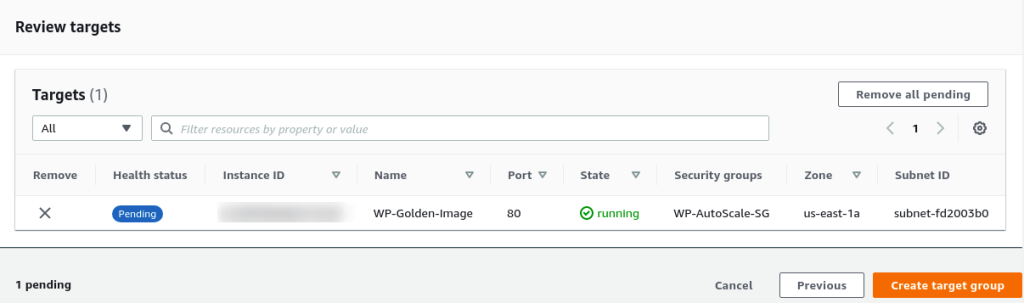
Step 9: For testing purposes, we have added our sample Linux Server to the target group. In production, it’s not needed.
Step 10: Back to the Load Balancer creation console, Select the newly created target group.
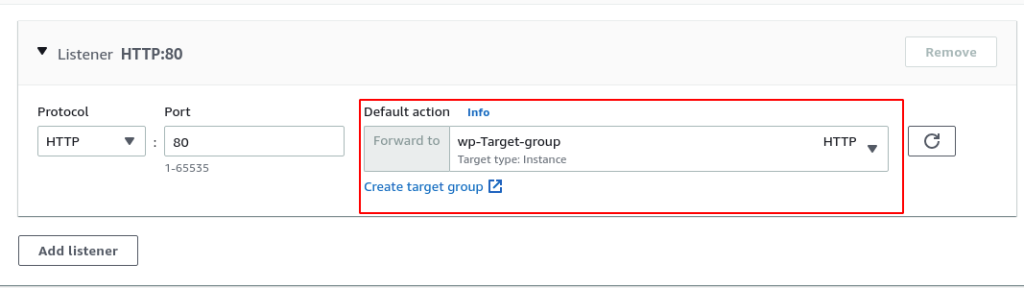
Step 11: Click create load balancer and it will available in our load balancer console.

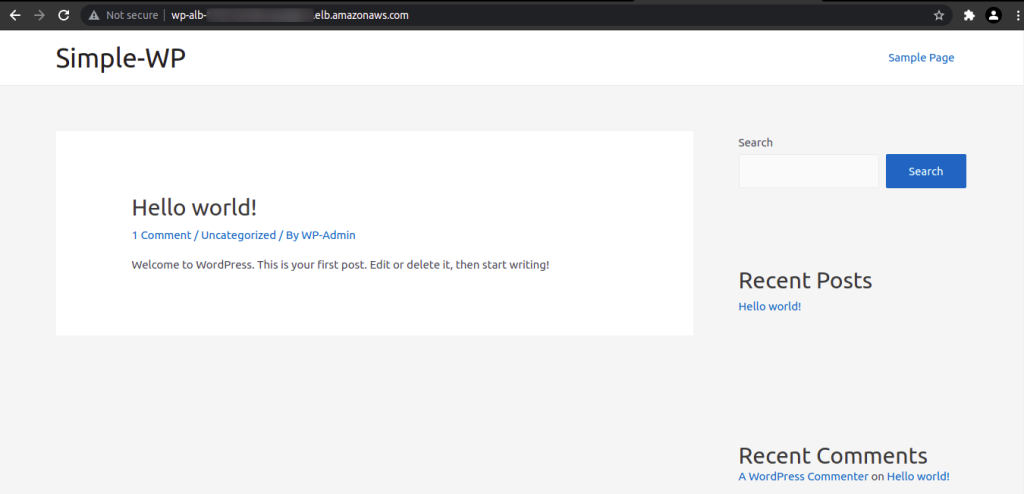
Step 12: Now we can able to access our sample Linux Server WordPress site using the ALB endpoint.
Creation of The autoscaling Group
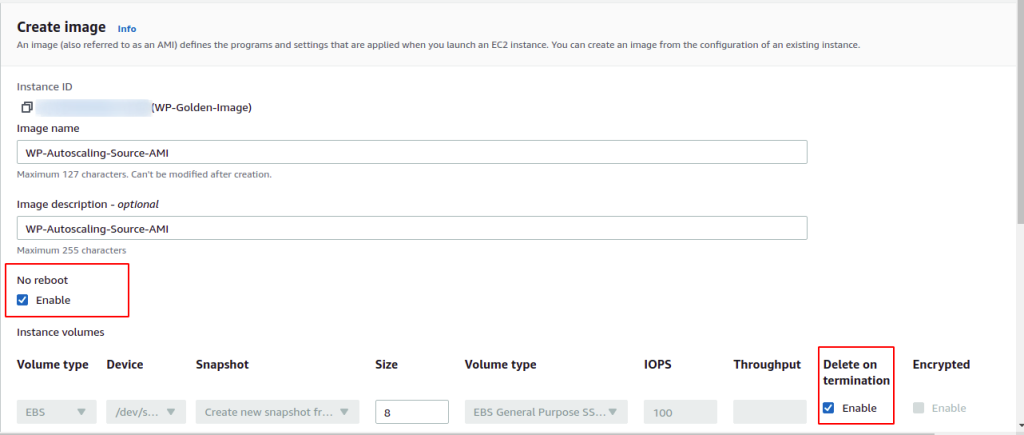
Step 1: We have initiated the Sample Linux Server AMI Backup.
Step 2: Provide a name for AMI, Enable no reboot option, Enable delete on termination option.
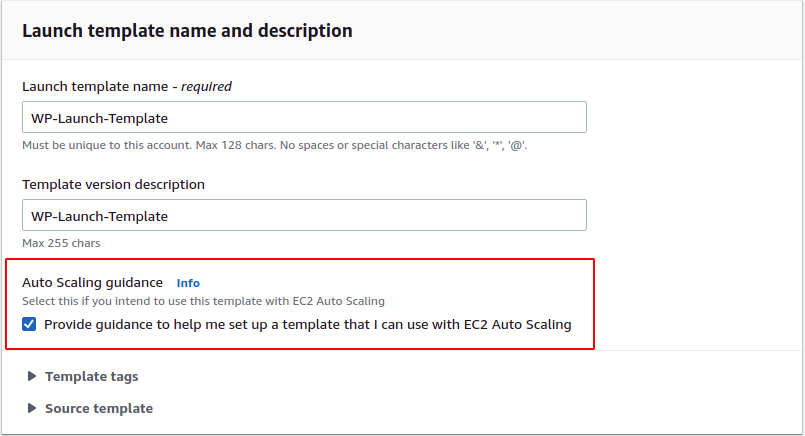
Step 3: Copy the AMI ID and go to the Launch templates console and click create launch template option.
Step 4: Provide the name for the launch template and enable provide guidance for the AutoScaling feature.
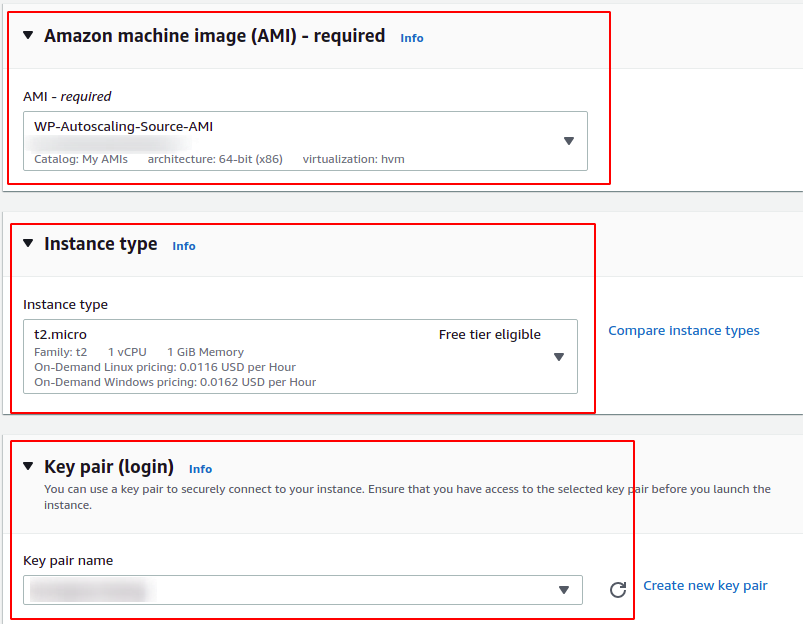
Step 5: Select our Sample Linux Server AMI, Instance type as t2.micro, and desired key pair. You can change this as per your needs.
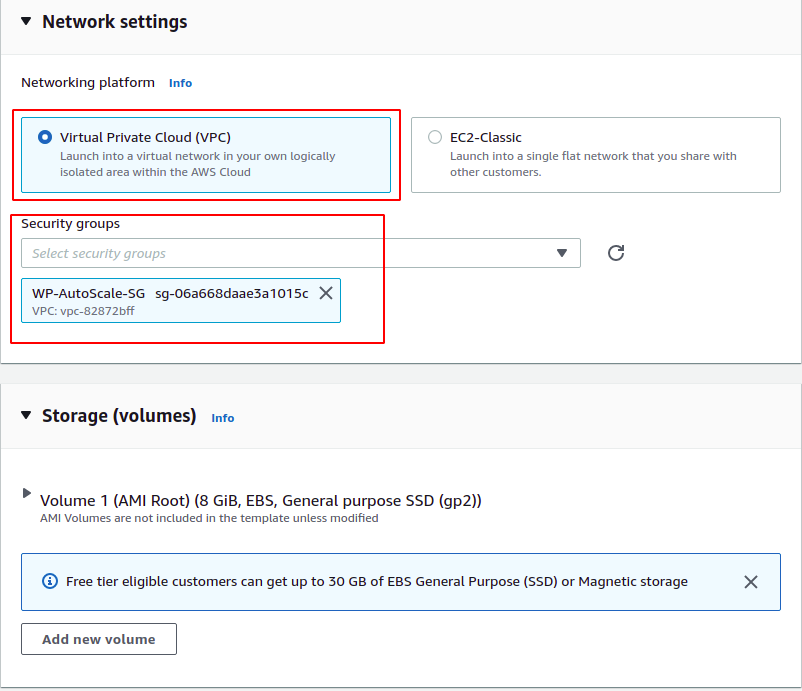
Step 6: Select Network as VPC and our Sample Linux Server Security group.
Step 7: Click create launch template and it will be available in our launch template console.

Step 8: Go to the AutoScaling console and click create AutoScaling group.
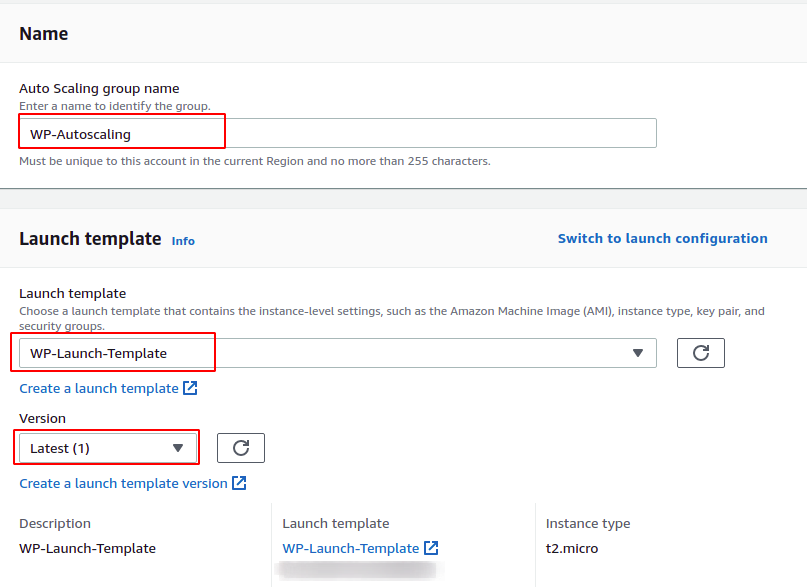
Provide a name for AutoScaling, Select our newly created launch template and version as latest.
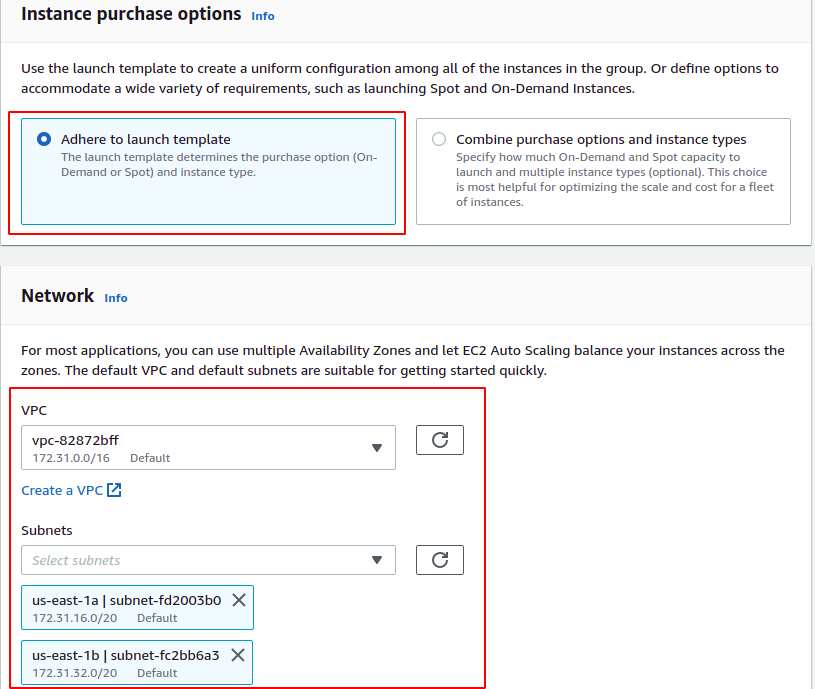
Step 9: Select Adhere to launch template and our sample Linux server VPC and select two or more subnets.
Selecting all subnets will help auto-scaling to launch instances in all availability zones.
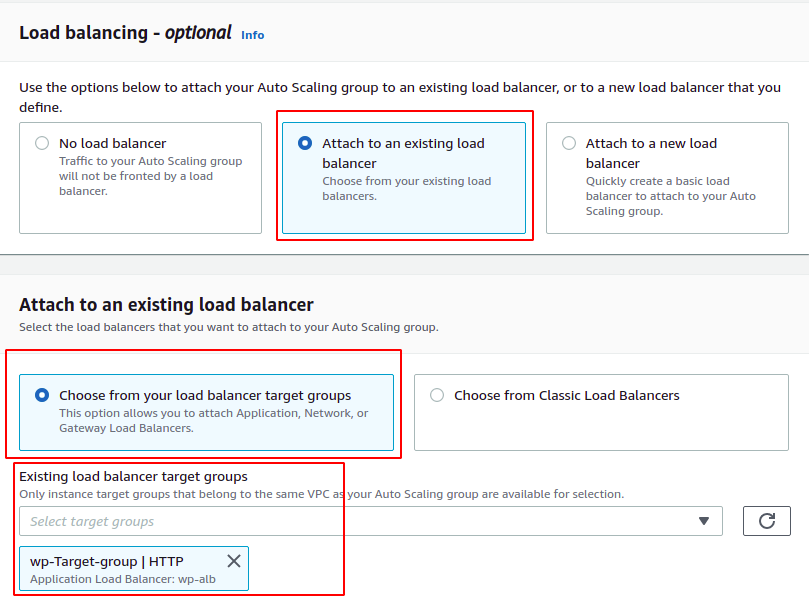
Step 10: We have already created the load balancer. So we have selected the attach to an existing load balancer, target group option and select our target group.
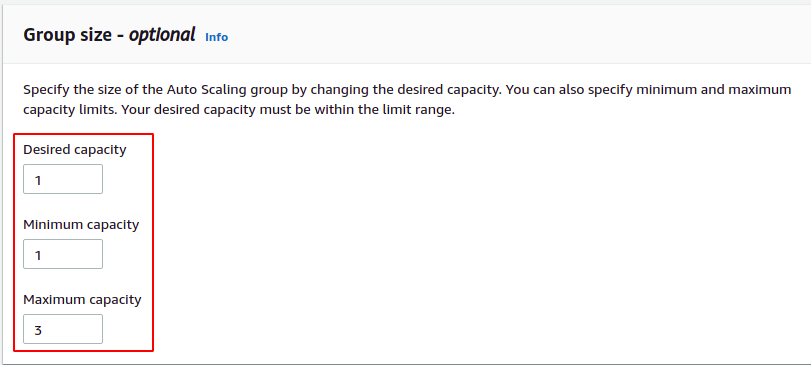
Step 11: We are going to launch one instance. So we have selected the desired and minimum capacity as 1 and maximum 3.
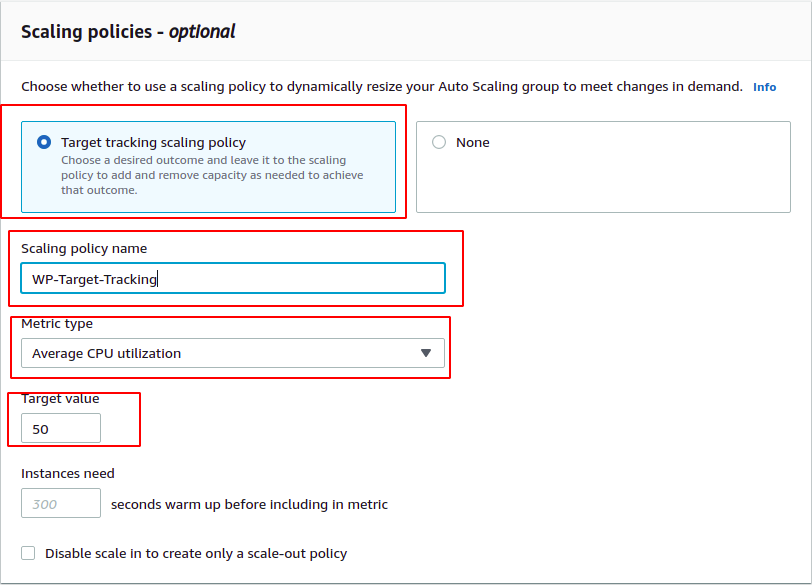
Step 12: We have selected the target tracking policy as our scaling policy.
Provide a name for a policy, metric type, and target value. You can change as per your needs
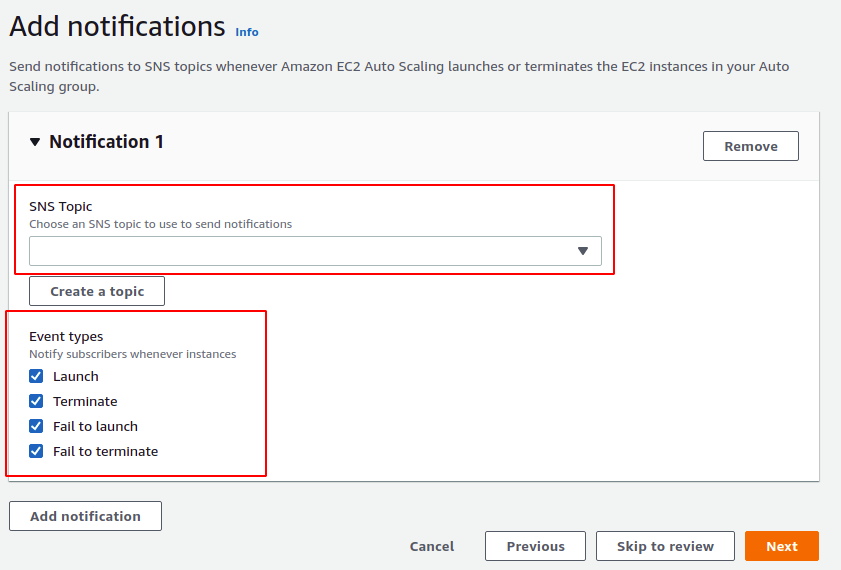
Step 13: We can add notifications whenever our AutoScaling launches or terminate an instance, and fail to launch or fail to terminate an instance.
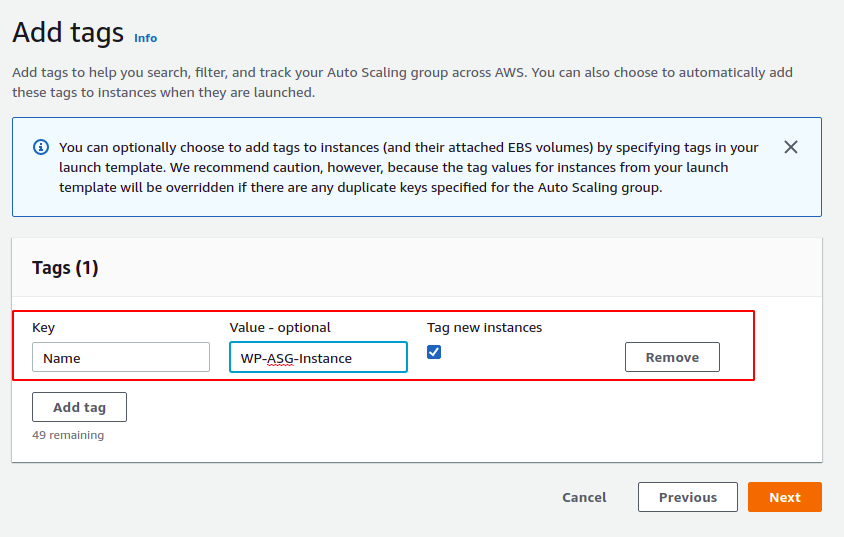
Step 14: AutoScaling will add tags to newly launched instances. It is recommended to add appropriate tags
Step 15: Review and create the Auto Scaling group and it will be available in our AWS EC2 Autoscaling console.

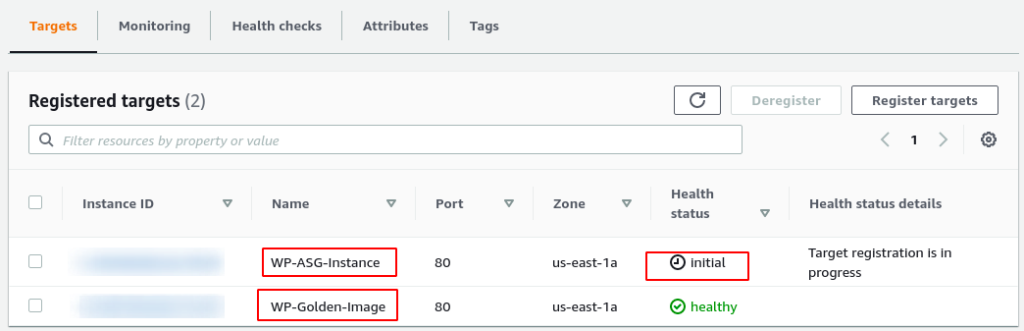
Step 16: In our Target group console, we can see our newly launched instance is in its initial state
Finally, the Creation of Application Load Balancer and AutoScaling group with Target Tracking Policy has been done.

Srikanth