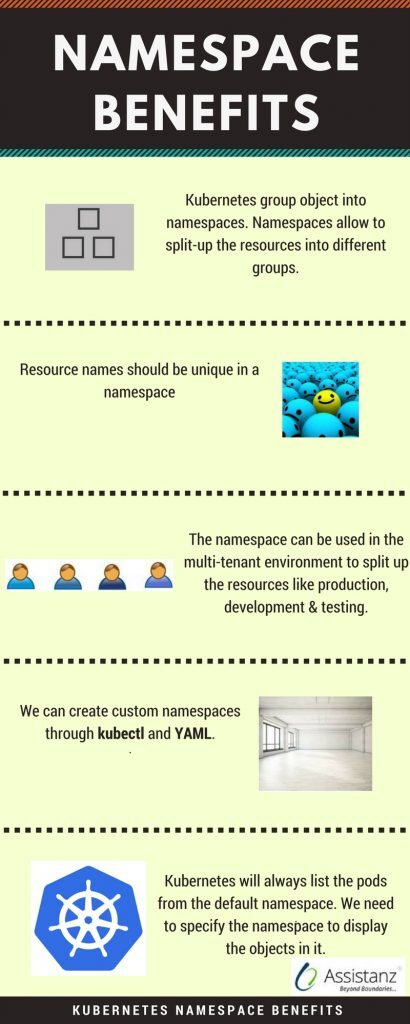
What is a namespace in kubernetes?
A Kubernetes namespace is a virtual cluster within a Kubernetes cluster that allows users to separate cluster resources. By acting as a scope for resources, a namespace can create isolated environments that can avoid naming conflicts. In this blog, we will show you the easy steps to create a custom namespace in the K8s environment.
Requirements
- 2 Node Cluster (1 Master VM with 2 Nodes)
- Kubernetes Components
Infrastructure overview
- In the process of creating a custom namespace in K8s, we had already installed and configured the 2 Node clusters in our demo environment.
- To learn how to install & configure the clusters visit our blog where we explain the step-by-step process of installation and configuration of clusters.
Creating a custom namespace through Kubectl
- The first thing we need to do is log into the master server using Putty.

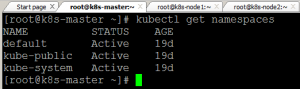
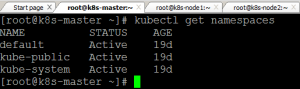
- In order to list all the available namespaces in our environment use the following command.
kubectl get namespaces
- By using the kubectl create command we will be able to create a namespace in our environment.
Syntax: kubectl create namespace
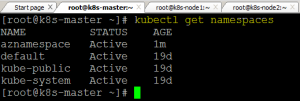
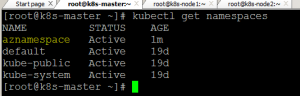
Example: kubectl create namespace aznamespace

- Hurray! We had successfully executed our command.

- After the execution of the command, verify the new namespace.
Creating a custom namespace through YAML
In addition of, creating a namespace through kubectl, now we are moving forward to create a namespace through YAML.
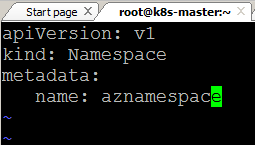
- Firstly, create a new file and add the below coding.

api Version: v1 kind: Namespace metadata:name: custom-namespace
- After successfully creating the file, save the file and close it.
- By using the following command we are able to create a namespace using the YAML file.
kubectl apply -f ns.yml

- Bingo! The command was executed smoothly as butter.

- It is necessary to verify the new custom namespace that has been created.
Creating a new POD in the custom namespace
- Before jumping to create a POD, we made your work easy. Use the following Kubectl command for the creation of a POD.
Syntax: kubectl run –image= –port= –generator=run-pod/v1 -n
Example: kubectl run ns-pod –image=nginx –port=80 –generator=run-pod/v1 -n aznamespace

- After the successful execution of the command, verify the POD details by using the following command.

Syntax: kubecl get pods –namespace
Example: kubectl get pods –namespace aznamespace

Note: Kubernetes will always list the pods from the default namespace. you need to specify the namespace name to display the objects in it.
Deleting the namespace
- In order to delete all the PODs in the namespace use the following command.
Syntax: kubectl delete pods –all –namespace
Example: kubectl delete pods –all –namespace aznamespace

- Verify the POD availability in the custom namespace.

- To delete a namespace use the following command.
Syntax: kubectl delete namespace
Example: kubectl delete namespace aznamespace

- Verify the available namespaces in your environment.
Video Tutorial
Thank you for taking the time to read our blog on “How to create a custom namespace in the K8s environment?“. We hope you found the information valuable and insightful. If you find any issues with the information provided in this blog don’t hesitate to contact us (info@assistanz.com).
Optimize your kubernetes and never lose a valuable customer again!
Our mission is to ensure that your containers remain lightning-fast and protected at all times by monitoring and maintaining it 24×7 by our experts.
Related Post
Google Kubernetes Overview And Architecture
Steps To Create Your First POD In Google Kubernetes