Hyper-V container in windows 2016
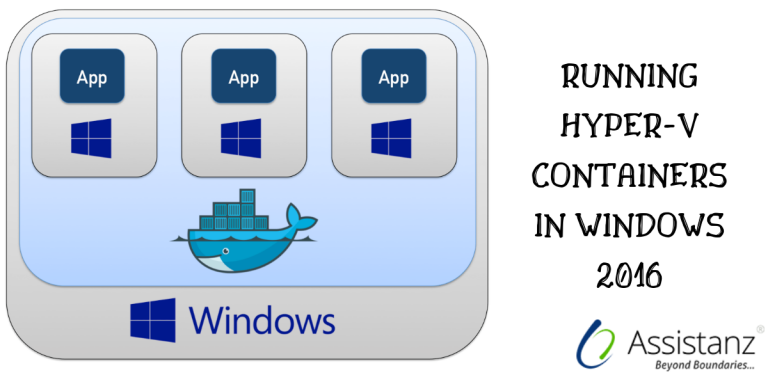
In this blog, we show you how to create a hyper-V container windows 2016.
REQUIREMENTS
- Need to install Hyper-V role on the server.
“Note : We are using the nested VM for this demonstration purpose.
CONFIGURE THE NESTED VM
Please follow the below blog to configure the nested virtualization for a VM.
https://blog.assistanz.com/nested-virtualization-windows-2016/
INSTALLING HYPER-V ROLE
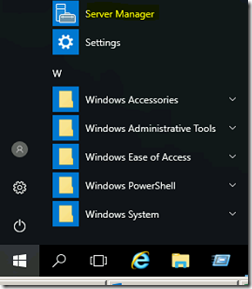
- Click on start menu and select server manager.
- Click on Add roles and features option.
- From the welcome screen, Click Next.
- Need to select Role-based or feature-based installation option and click Next.
- Select the server and click Next.
- Select the Hyper-V role and click Next.
- Don’t select any components in this screen. Click Next.
- Select the network adapter for Hyper-V VM’s and click Next.
- We can configure the virtual machine migration later. Click Next.
- Specify the default store for VM files. Click Next.
- Click Install button to install the Hyper-V Role on the server.
SERVER REBOOT
- Restart the server to complete the installation.
CREATING WINDOWS CONTAINER IN DETACH MODE
- To create a windows container in detach mode, type the following command.
Syntax: docker run -d –name <name for the container> <container image name> <executing the command>
Example: docker run -d –name srv01 microsoft/nanoserver ping 127.0.0.1
CREATING HYPER-V CONTAINER IN DETACH MODE
- To create hyper-V container, type the following command.
Syntax: docker run -d –name <name for the container> –isolation=hyperv <container image name> <executing the command>
Example: docker run -d –name srv02 –isolation=hyperv microsoft/nanoserver ping 127.0.0.1 -t
Note: It will take little bit of extra time while creating hyper-V containers when comparing to windows containers
DIFFERENCE BETWEEN WINDOWS CONTAINER AND HYPER-V CONTAINER
Windows containers are sharing the container host kernel. Hyper-V containers are having their own kernel as its own virtual machine. If we run docker ps we can see both the containers and there is no difference in it.
INSPECTING THE WINDOWS CONTAINER
- Run the below command to inspect the first container srv01.
docker inspect srv01
It displays the JSON data related to srv01 container. In that data, we can find the isolation type for this container.
This was created as windows container using process isolation method. This container is sharing the kernel with the host operating system.
INSPECTING THE HYPER-V CONTAINER
- Run the below command to inspect the second container srv02
docker inspect srv02
It displays the JSON data related to srv02 container. In that data, we can find the isolation type for this container.
It created as Hyper-V container so it’s using its own kernel inside the virtual machine. It will create virtual machine internally for this container and we will not see it in the hyper-V console.
FORMATTING INSPECT COMMAND
We can filter the data from the JSON file using –f option in the docker command.
- To filter the isolation type for a container, type the below command.
Syntax: docker inspect -f “{{.HostConfig.Isolation}}” <container name> or <container ID>
Example: docker inspect -f “{{.HostConfig.Isolation}}” srv01
VIDEO
Thanks for reading this blog. We hope it was useful for you to learn how to create hyper-V container in windows 2016.

Loges


