Are you struggling to install Minikube on your Windows 10 Home using Virtualbox? Look no further! In this article, we will guide you through the simple steps to get Minikube up and running on your system without any hassle.
Requirements
- Windows 10 Enterprise (or) Home Edition
- Virtual Box
Environment Overview
- We are using the Windows 10 Enterprise VM.
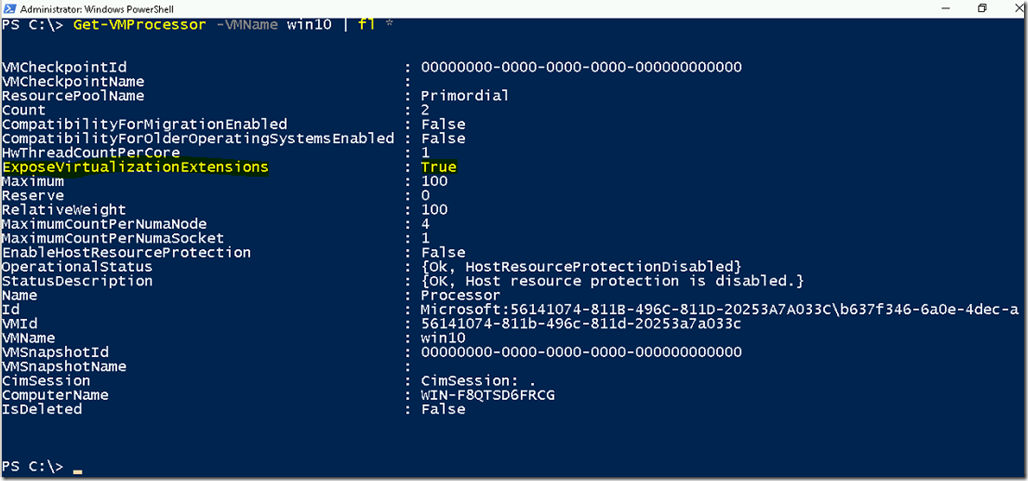
- We have hosted this VM on Windows 2016 environment with Nested Virtualization Enabled.
- Nested Virtualization is a feature which is available on Windows 2016 server editions.
Installing Virtual Box
- Login into the Windows 10 VM through Remote Desktop.
- Open the web browser and visit the virutal box website.
- Click on the Windows Hosts link to download the executable file.
- Once the download completes, Run the executable file as administrator.
- Follow the Installation wizard and accept the defaults settings.
- While installing the networking interface, Click on Install button.
- Click Finish to complete the wizard.
Download kubectl
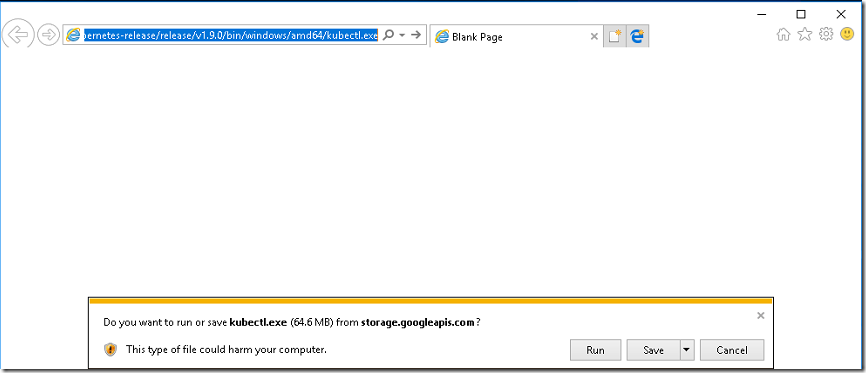
- Open the web browser and download the kubectl.exe file
- Copy the kubectl.exe to the %systemroot\system32 folder.
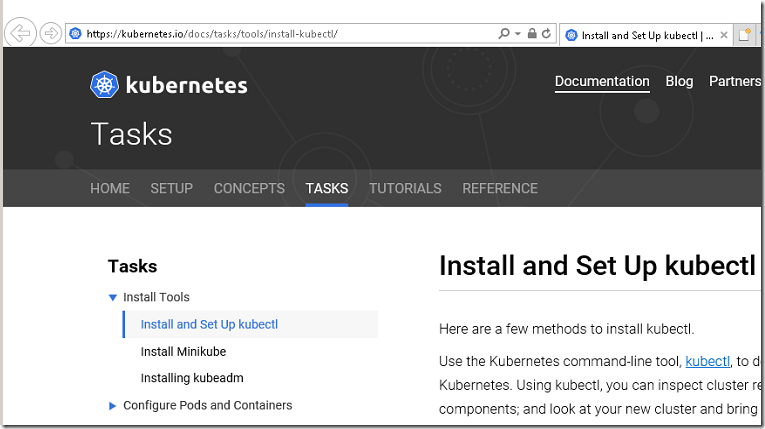
- You can find latest version of kubectl from this recommended URL https://kubernetes.io/docs/tasks/tools/install-kubectl/
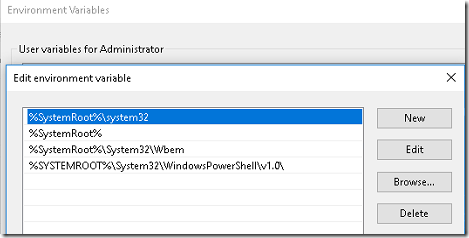
- By default, Environment variable was set to the system32 folder. No changes required.
Download Minikube
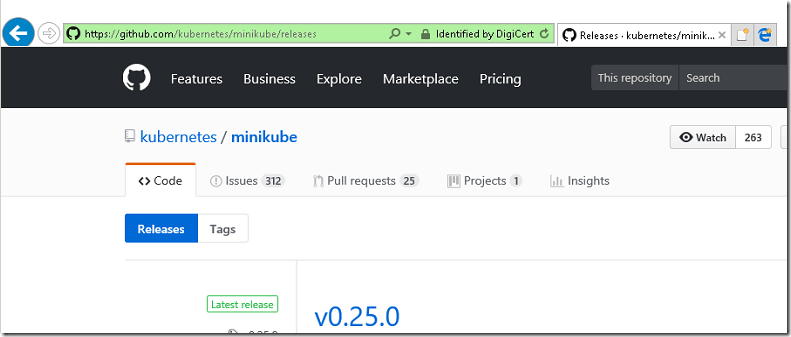
- Open the web browser and access the URL https://github.com/kubernetes/minikube/releases
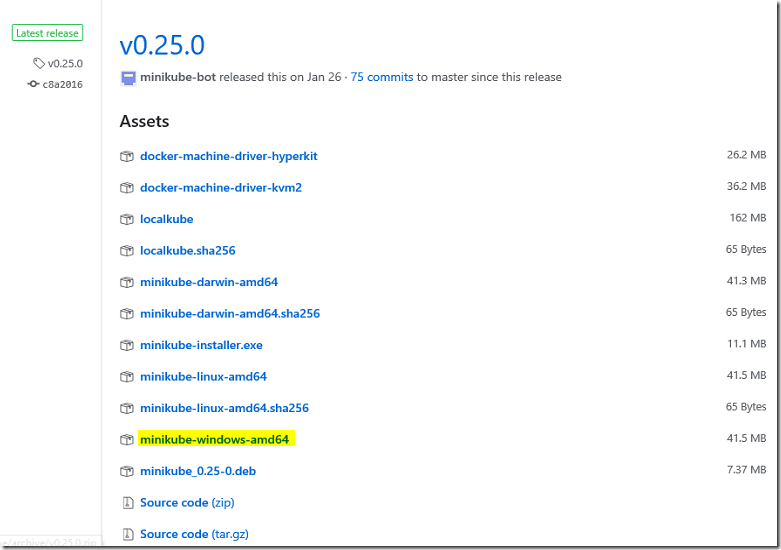
- Scroll down and download the latest version of minikube for windows 64-bit version.
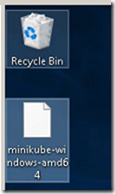
- Once the download completed, rename the file to minikube.exe.
- Copy the minikube.exe to %systemroot%\system32 folder.
Installing Minikube
- Open Powershell (or) command prompt window and verify the minikube version.
- Type the below command to start minikube VM.
minikube start
- Once the ISO download completes, It starts a new VM.
- Then it will start to download the kubernetes binary for this VM.
- After several minutes, minikube is ready to use.
Verification
- Verify the Minikube status.
minikube status
- To get the nodes list, type kubectl get nodes command.
- To view the dashboard, type minikube dashboard command.
- Click on the nodes option to verify the node status.
Video Tutorial
Thank you for taking the time to read our blog on “How to install Minikube on Windows 10 home using Virtualbox?”. We hope you found the information valuable and insightful. If you find any issues with the information provided in this blog don’t hesitate to contact us (info@assistanz.com).
Optimize your kubernetes and never lose a valuable customer again!
Our mission is to ensure that your containers remain lightning-fast and protected at all times by monitoring and maintaining it 24×7 by our experts.
Related Post
How to install Minikube on Windows 2016 server?
How to install Minikube on Windows 10 using Hyper-V?


