Installing MiniKube on Windows 2016 Server
Minikube is a tool that allows you to run Kubernetes clusters locally, making it easy to develop and test applications. In this guide, we will walk you through the process of installing Minikube on a Windows 2016 server.
Requirements
- Windows 2016 VM with Internet Connection
- Hyper-V
Enabling nested virtualization
- We have created a new VM in windows 2016 HOST and enabled the Nested virtualization. Nested Virtualization is a feature which is available on Windows 2016 server edition. It allows you run Hyper-V inside of a Hyper-V VM.
- We have already enabled the virtualization for our demo VM.
Installation of Hyper-V
- Once you enabled the Nested Virtualization, Login into your VM through Remote Desktop.
- We have already installed Hyper-V service for this demo.
DOWNLOAD KUBECTL
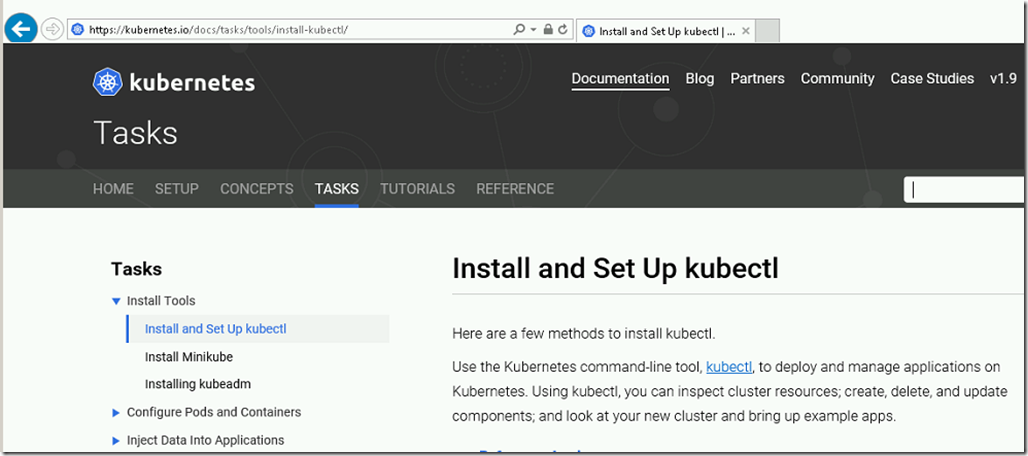
- Open the web browser and download the kubectl.exe file.
- To find the latest version of kubectl click here.
- Copy the Kubectl.exe file to %systemroot%\system32 folder.
- By default, environment variable path was set for the System32 folder.
Download Minikube
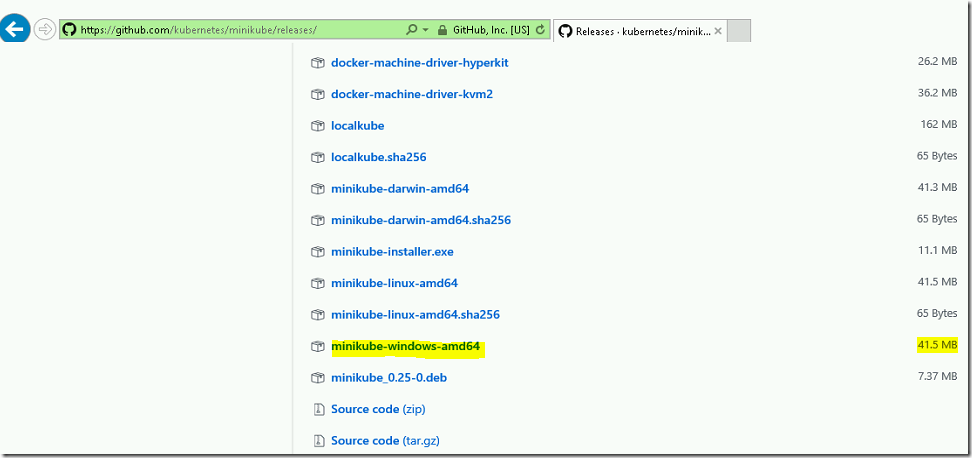
- Open the web browser and access the recommended URL https://github.com/kubernetes/minikube/releases
- Download the latest version of minikube for windows 64 bit.
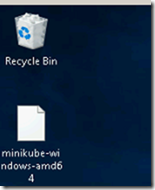
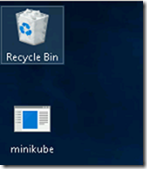
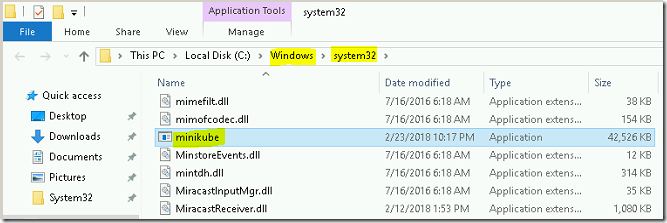
- Rename the filename from minikube-windows-amd64 to minikube.exe.
- Copy the minikube.exe file to %systemroot%\system32 folder.
Creating virtual switch in Hyper-V
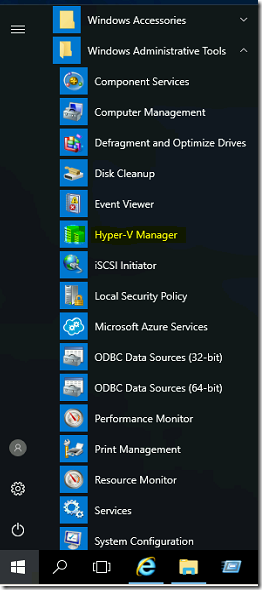
- Open the Hyper-V Manager.
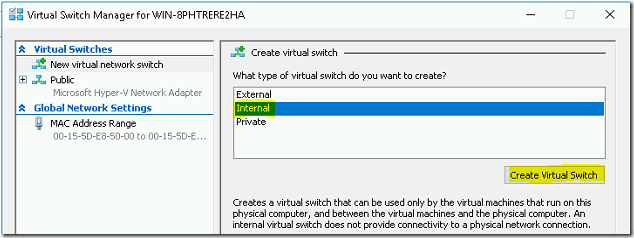
- Click on the Virtual Switch Manager option.
- Select the virtual switch type as Internal and Create button.
- Provide a name for the virtual switch. We set as Minikube for this demo. Then click on Apply button.
- After few seconds, the new virtual switch will be available in the list.
Enable Internet Connection Sharing
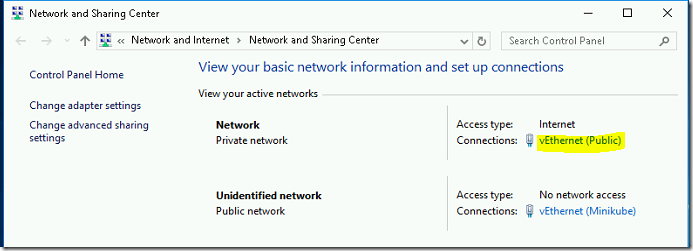
- From the VM desktop, Right-Click on the Network Icon and select open network connection and sharing center option.
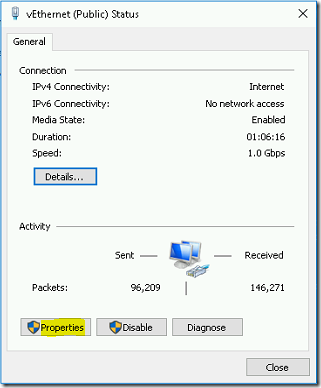
- Click on the VM physical Ethernet that has the Internet connection.
- Click on the Properties button.
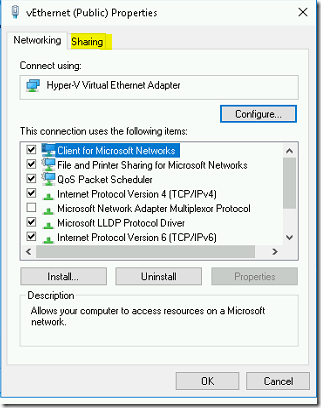
- Switch to sharing tab.
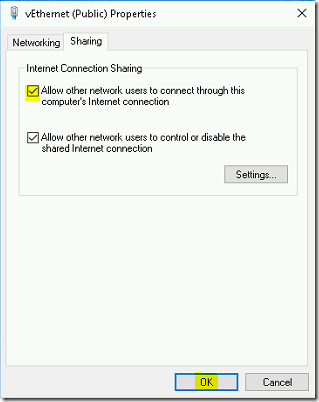
- Select the Allow other network users to connect through this computer’s Internet connection checkbox and click OK.
Installing Minikube
- Open the Powershell (or) command prompt window and type the below command to verify the minikube version.
minikube version
- Type the below command to start a minkube VM.
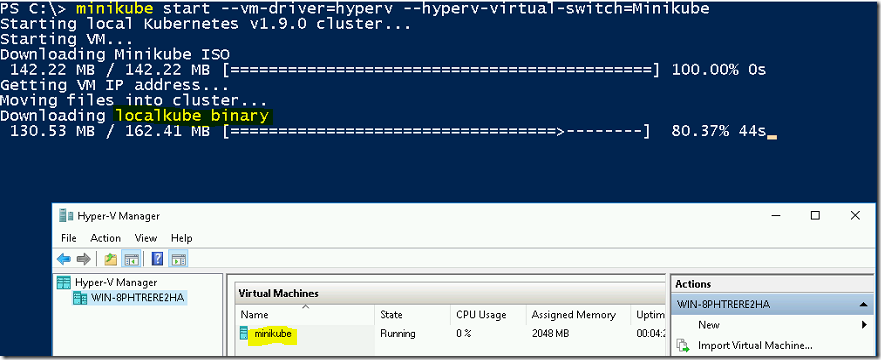
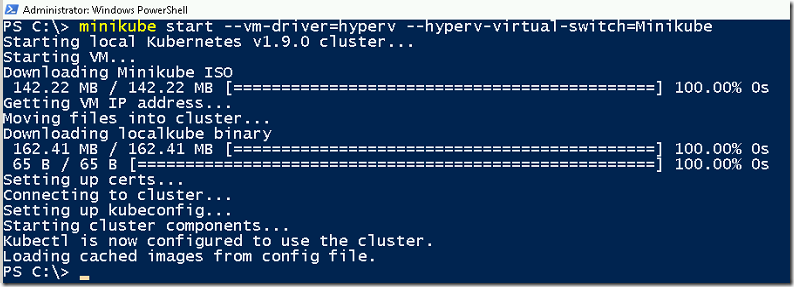
minikube start –vm-driver=hyperv –hyperv-virtual-switch=Minikube
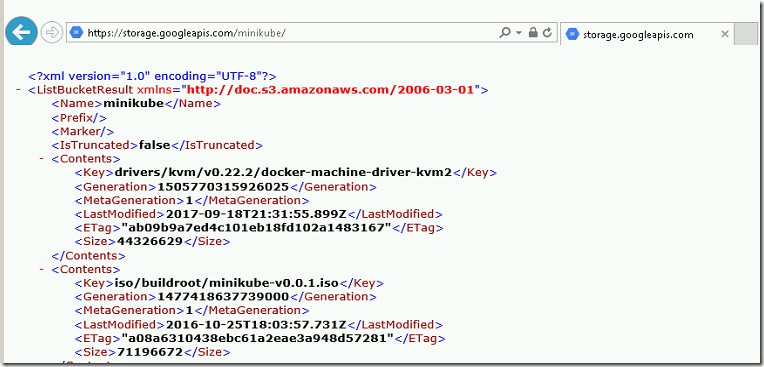
- It will start downloading the ISO from the Google storage.
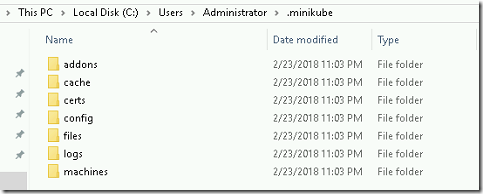
- The default location of minikube configuration is C:\Users\<username>\.minikube
- The ISO will be downloaded under cache folder.
- To can find the latest version of minikube ISO files click here.
- After few minutes, It launches a new VM and starts downloading the kubernetes binary for minikube VM.
- After few minutes, Fully working single node cluster is ready now.
Verification
- To list the nodes, use the below command.
kubectl get nodes
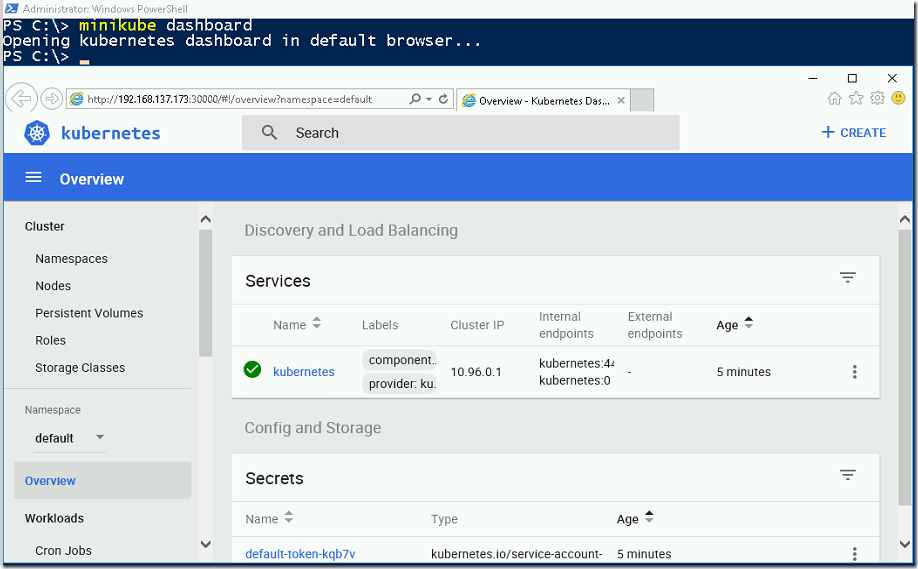
- Use the below command to open the minikube dashboard.
minikube dashboard
- Click on Nodes option to verify its status.
Video Tutorial
Thank you for taking the time to read our blog on “How To Install Minikube On Windows 2016 Server?”. We hope you found the information valuable and insightful. If you find any issues with the information provided in this blog don’t hesitate to contact us (info@assistanz.com).
Optimize your kubernetes and never lose a valuable customer again!
Our mission is to ensure that your containers remain lightning-fast and protected at all times by monitoring and maintaining it 24×7 by our experts.
Related Post
How to install Minikube on Windows 10 using Hyper-V?
How to install Minikube on Windows 10 Home using Virtualbox?


