In this following blog, we will show you the steps to install Minikube on Windows 10 using Hyper-V service.
Requirements
- Windows 10 Enterprise VM (or) Desktop (or) Laptop
- VT-X Enabled in BIOS
- Hyper-V Service
Environment overview
- We are using the Windows 10 Enterprise VM.
- We have hosted this VM on a Windows 2016 environment with Nested Virtualization Enabled.

- Nested Virtualization is a feature that is available on Windows 2016 server editions.
Installing Hyper-V
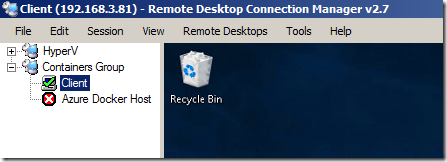
- Login into Windows 10 VM through the Remote desktop.
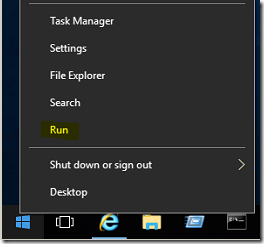
- Click on the start menu and select Run command.
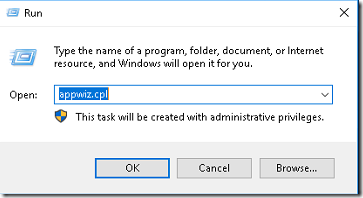
- Type appwiz.cpl and press Enter. It will open the programs and features window.
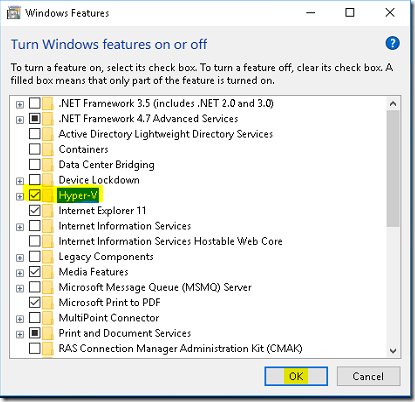
- Click on Turn Windows Features on or off option.
- Select the Hyper-V service from the list and click on the OK button.
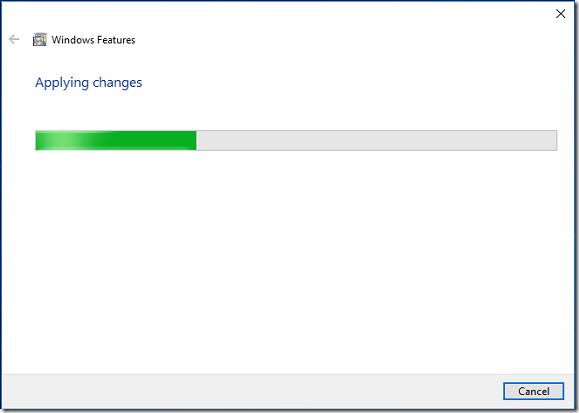
- It will take a few minutes to complete the installation.
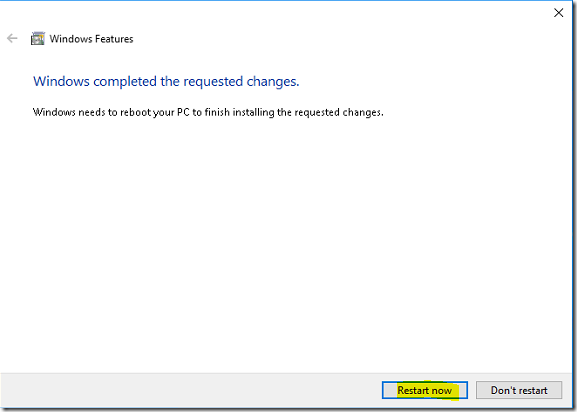
- Select Restart now to apply the changes.
Download kubectl
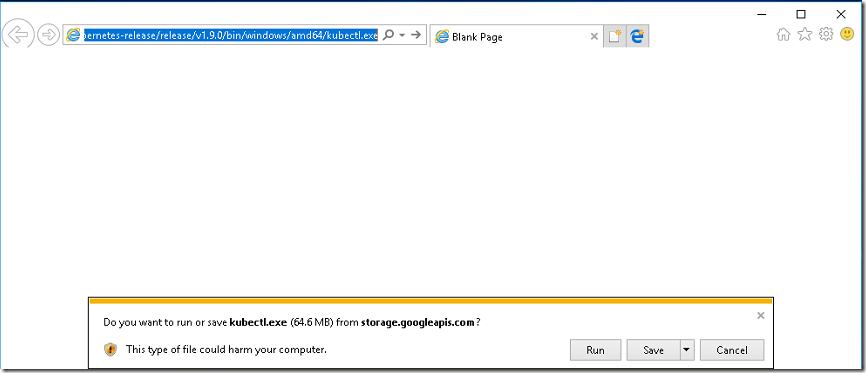
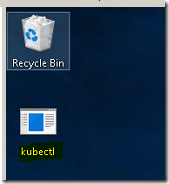
- Firstly download the file on your desktop.
- Copy the kubectl.exe to the %systemroot\system32 folder.
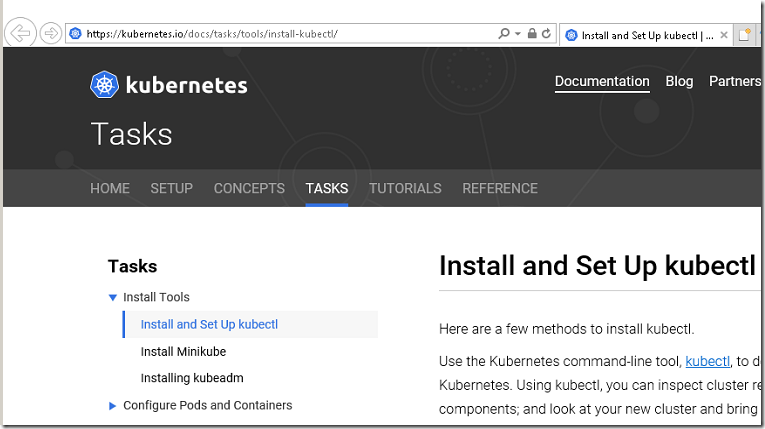
- You can find the latest version of kubectl from this URL https://kubernetes.io/docs/tasks/tools/install-kubectl/
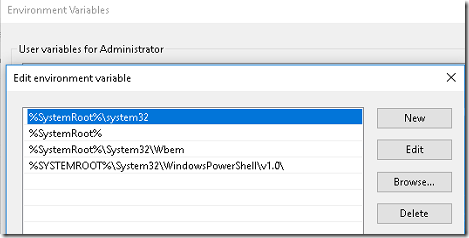
- By default, the Environment variable was set to the system32 folder. No changes are required.
Download minikube
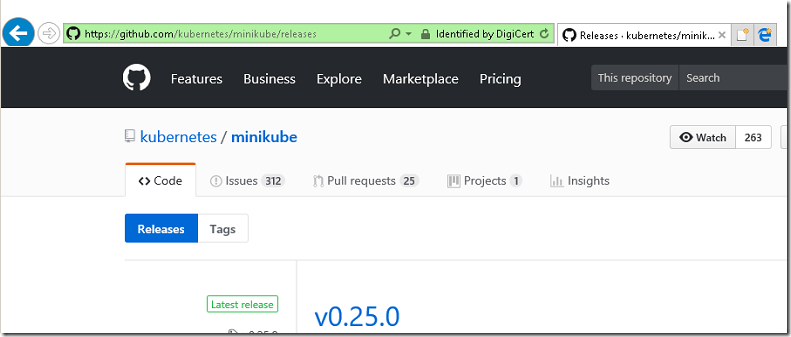
- Open the web browser and access the URL https://github.com/kubernetes/minikube/releases
- Scroll down and download the latest version of Minikube for Windows 64-bit version.
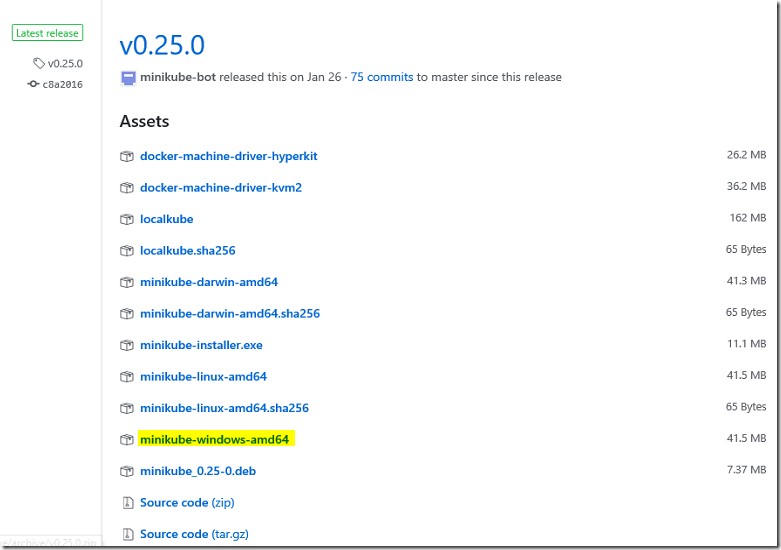
- Once the download is completed, rename the file to minikube.exe.
- Copy the minikube.exe to %systemroot%\system32 folder.
Creating virtual switch
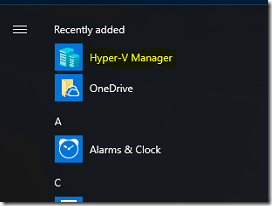
- Click the start menu and select Hyper-V snap-in.
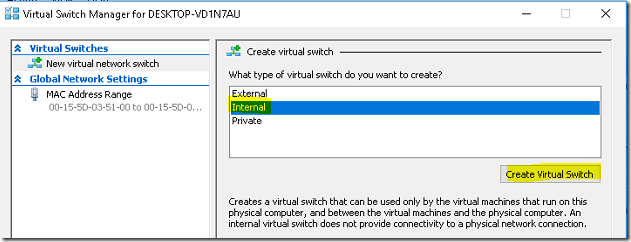
- Click on the Virtual Switch Manager option.
- Select the virtual switch type as Internal.
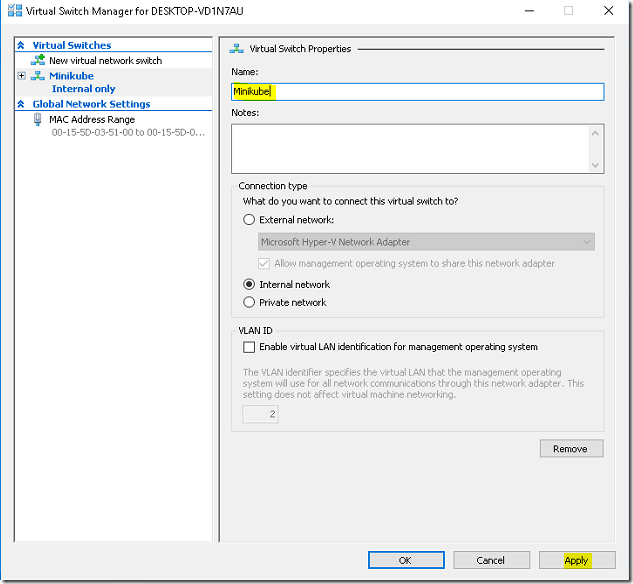
- Provide a name for the virtual switch and select the Apply button.
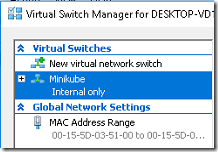
- After a few seconds, the new switch will be available in the list.
Enable internet connection sharing
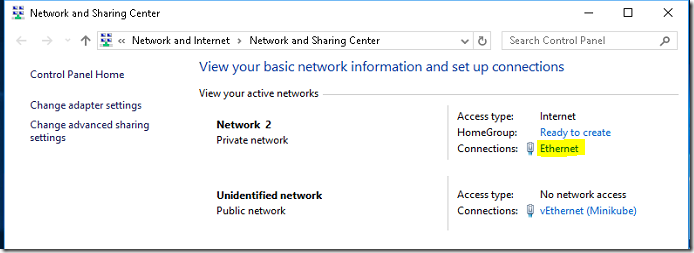
- From the desktop, right-click on the Network icon and select the Open Network and Sharing Center options.
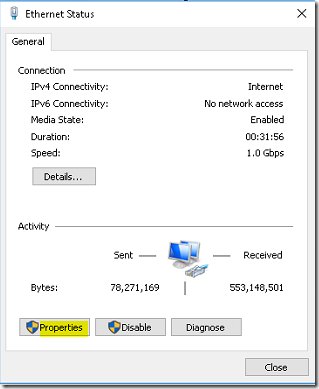
- Click on the Physical Ethernet which has an internet connection.
- Click on the Properties option.
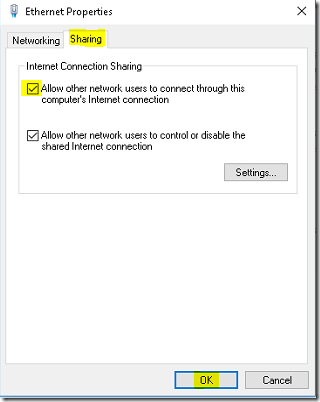
- Switch to the Sharing Tab and select the Internet sharing option. Select OK to apply the changes.
Installing minikube
- Open the Powershell (or) command prompt window and verify the Minikube version.
- Type the below command to start the Minikube with Hyper-V Driver.
minikube start --vm-driver=hyperv --hyperv-virtual-switch=Minikube
- It will start downloading the Minikube ISO.
- Once the ISO download completes, a New Minikube VM will be created in Hyper-V
- It will start downloading the localkube binary.
- After several minutes, Minikube was installed successfully.
Verification
- Type the below command to list the nodes.
kubectl get nodes
- You can also verify the Minikube cluster status using the command.
minikube status
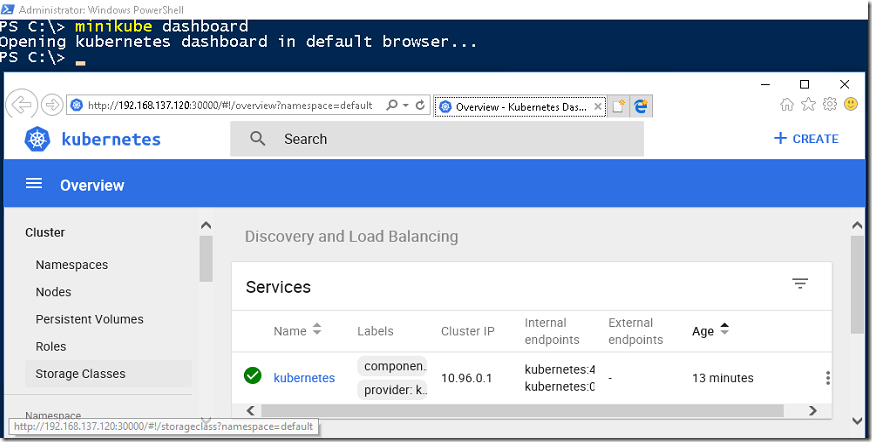
- You can also access the minikube through GUI.
minikube dashboard
- Click on the Nodes option to verify the node’s information.

Video Tutorial
Thank you for taking the time to read our blog on “How to access the POD from outside the K8s cluster?”. We hope you found the information valuable and insightful. If you find any issues with the information provided in this blog don’t hesitate to contact us (info@assistanz.com).
Optimize your kubernetes and never lose a valuable customer again!
Our mission is to ensure that your containers remain lightning-fast and protected at all times by monitoring and maintaining it 24×7 by our experts.
Related Post
How to install Minikube on Windows 2016 server?
How to install Minikube on Windows 10 home using Virtualbox?


