Creating container volumes in windows 2016
In this blog, we will share you creating container volumes in windows 2016 using docker commands.
OVERVIEW
In addition, to store the data inside the container while building, we can also set it up the container to access the data outside their environment. For example, create a folder on container host and we can access the folder from inside the container.
CREATING CONTAINER FOLDER
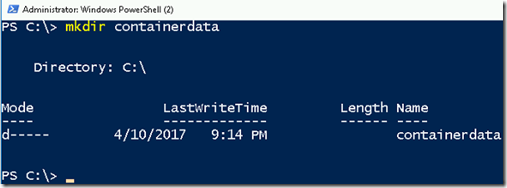
- Create a folder in C:\ drive named containerdata using below command.
mkdir containerdata
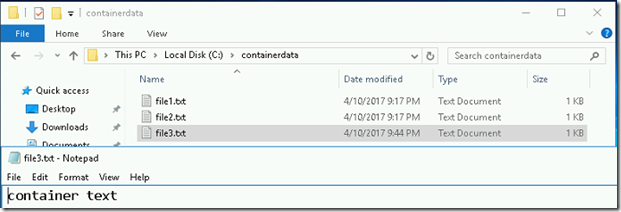
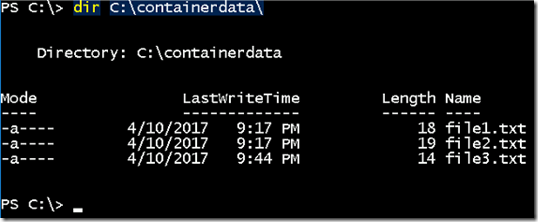
- Create two new files named file1.txt and file2.txt
LAUNCHING NEW CONTAINER AND MAP THE FOLDER
- Create a new container along with mapping using below command.
SYNTAX : docker run -it -v <sourcefolderpath>:<destination folder path where source folder to be mounted> <container OS image< <process to kickstart during creation>
EXAMPLE: docker run -it -v c:\containerdata:c:\mydata azcontainerr/web powershell
docker – Base command for docker command line interface.
-it – To start the docker container in interactive mode.
-v – to map the local folder (or) data volume to a folder inside the container.
c:\containerdata – It’s the source folder from the container host
c:\mydata – Define the path where the source folder to be mounted.
azcontainerr/web – Image to start the container
PowerShell – To kickstart the PowerShell process inside the container.
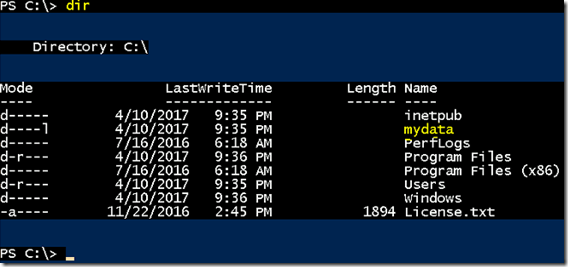
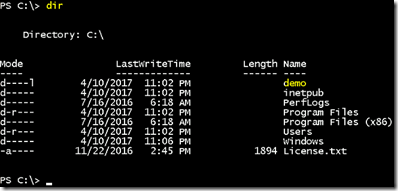
- Once the container up and running, List the files and folders to verify mydata folder is available.
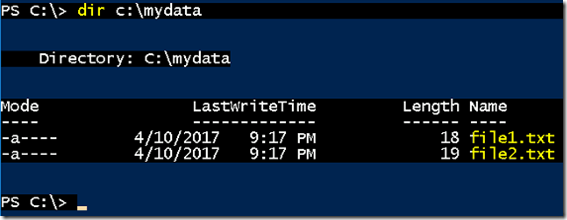
- If we list the files inside mydata, we can see our files file1.txt and file2.txt.
- Create a new file inside the mydata folder using below command.
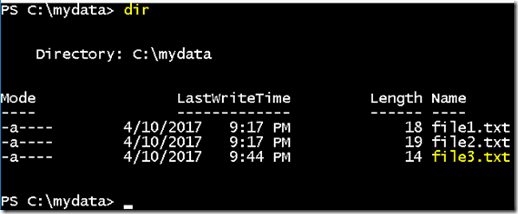
New-Item -ItemType file -Name file3.txt -Value ‘container text’
- List the directory and we can able to find the third file in the list.
- We can able to see the file from the container host.
- Quit from the container using below command.
exit
- Now container is in stopped mode. We can verify it using docker ps –a command.
REMOVING CONTAINER
- Now delete the container using rm command.
docker rm 9d
- There are no containers available now.
- You can see all three files available in the c:\containerdata folder from the container host
- The data are available after we delete the containers.
CREATING PERSISTENT DATA VOLUMES
- We can create persistent data volumes that can be shared access multiple containers. It’s like virtual volume which can be connected to different containers.
- To create persistent data volume, use the below command.
SYNTAX: docker run -it -v <data volume name>:<Folder name where data volume to be mounted> <container image name> <command to kickstart the process>
EXAMPLE: docker run -it -v mydata:c:\demo azcontainerr/web powershell
docker – Base command for docker command line interface.
-it – To start the docker container in interactive mode.
-v – to map the local folder (or) data volume to a folder inside the container.
mydata – create a data volume
c:\demo – where data volume should be mounted inside the container
azcontainerr/web – Image to start the container
powershell – To kickstart the PowerShell process inside the container.
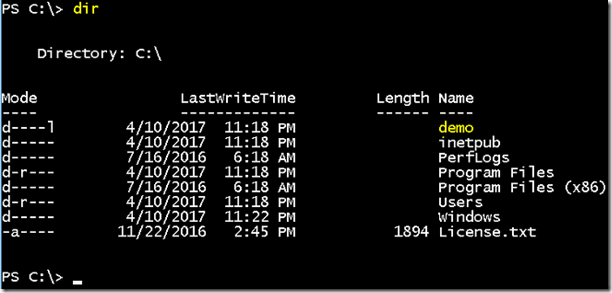
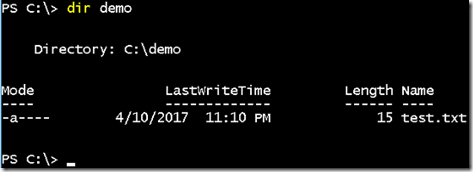
- Once the container is up and running, list the folders to verify demo folder is available.
- There is no files are available under demo folder.
- Create a new file named test.txt using below command.
New-Item -Itemtype file -Name test.txt -Value ‘hello assistanz’
- Now disconnect this container by pressing CTRL+PQ keys.
- Make sure that container is in running state by executing docker ps command.
- Launch a new container with same volume mapping using below command.
docker run -it -v mydata:c:\demo azcontainerr/web powershell
- Once container up and running, list the folders to view demo folder.
- If we list inside the demo folder, we can see the text file which we created from the other container.
- Disconnect from this container by pressing CTRL+PQ keys.
ABOUT DATA VOLUMES
- Actually, we create, manage and delete data volumes using docker volume command.
- To list the available data volumes in the container host, use the below command.
docker volume ls
- Make sure that container is deleted prior to delete volumes. To delete multiple containers, use the below command.
docker rm –f $(docker ps -q)
- To delete the docker volume, execute the below command.
SYNTAX: docker volume rm <volume name>
COMMAND : docker volume rm mydata
- You can verify the data volumes using docker volume ls command.
VIDEO
Thanks for reading this blog. We hope it was useful for you to learn how to share the folders and data volumes inside the container(s).

Loges

