Configure port mapping for windows container
In this blog, we will show you configure port mapping for windows container using docker commands.
INTRODUCTION
We need to configure the port mapping to access the web application inside the container. Need to specify the source and destination port while creating the containers.
PORT MAPPING
- To configure the port mapping while creating the container, use the below command.
SYNTAX: docker run -it -p <source port of windows container host>:<destination port in the container> <container image>
Example : docker run -it -p 80:80 azcontainerr/web
docker – Base command for docker CLI
run – To start a new container
-it – Run in interactive mode
-p – Specify the port mapping
80 (left hand side) source port– Map the windows container host port.
80(right hand side) Destination port – Map the container port.
azcontainerr/web – Container Image.
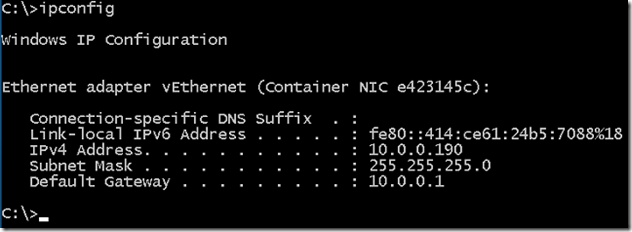
- Once the container is up and running, type ipconfig to view the IP details.
- We got an IP as 10.0.0.190. Now the NAT translation has been set from the host IP to container IP.
- Press CTRL+PQ to disconnect from the container.
- Type docker ps command.
- You can see our port mapping has been shown above.
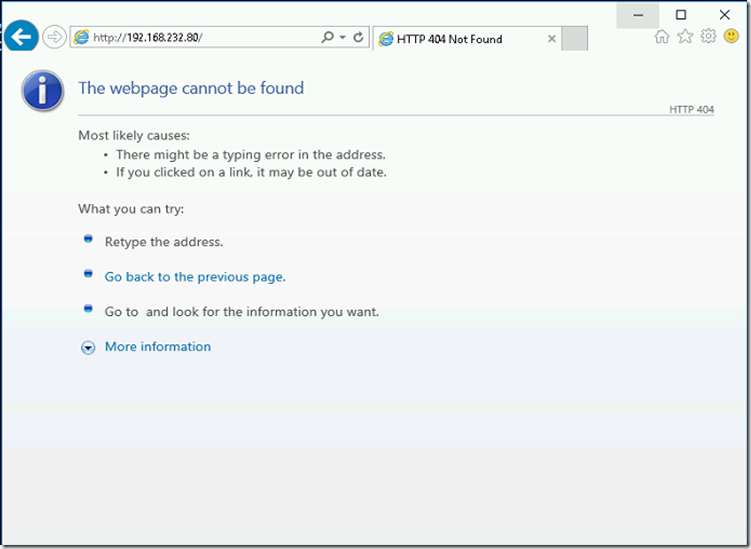
- Now we use the windows container host IP (192.168.232.80) to access the container web application.
- We cannot access the web application using container host IP from container host itself. This limitation is how windows NAT works. We hope microsoft will fix in the future version. If we try to browse the container host IP through web browser, will receive the below output.
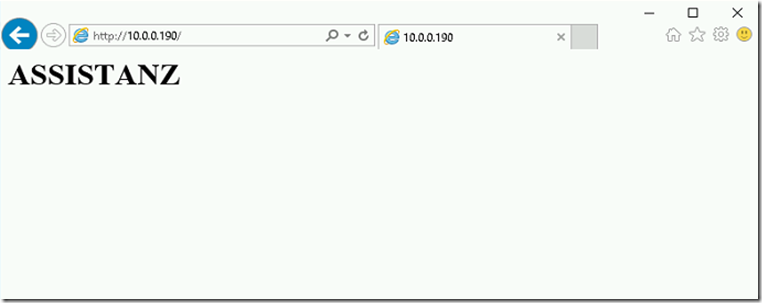
- You can able to access the container application using container IP (10.0.0.190).
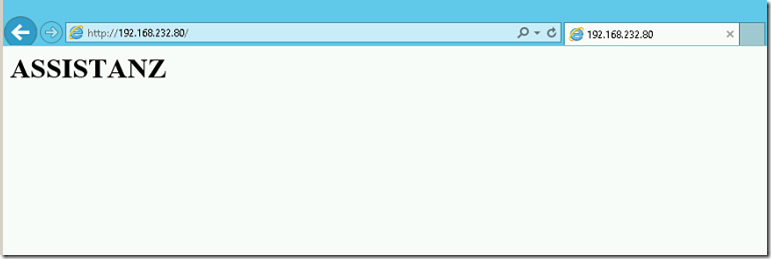
- Able to access the windows container host IP from the client machine.
VIDEO
Thanks for reading this blog. We hope it was useful for you to learn to configure port mapping for windows container.


